The bookshelf was a request for a baby shower gift. My shelf was gifted with a wizard book set for the baby’s nursery. I made an equilateral triangle and made sure that the book set could fit nicely on the shelf with enough clearance at the top corners. This project involved some fun geometry and marked my first use of my new table saw.
See the walkthrough below for more details on the process.
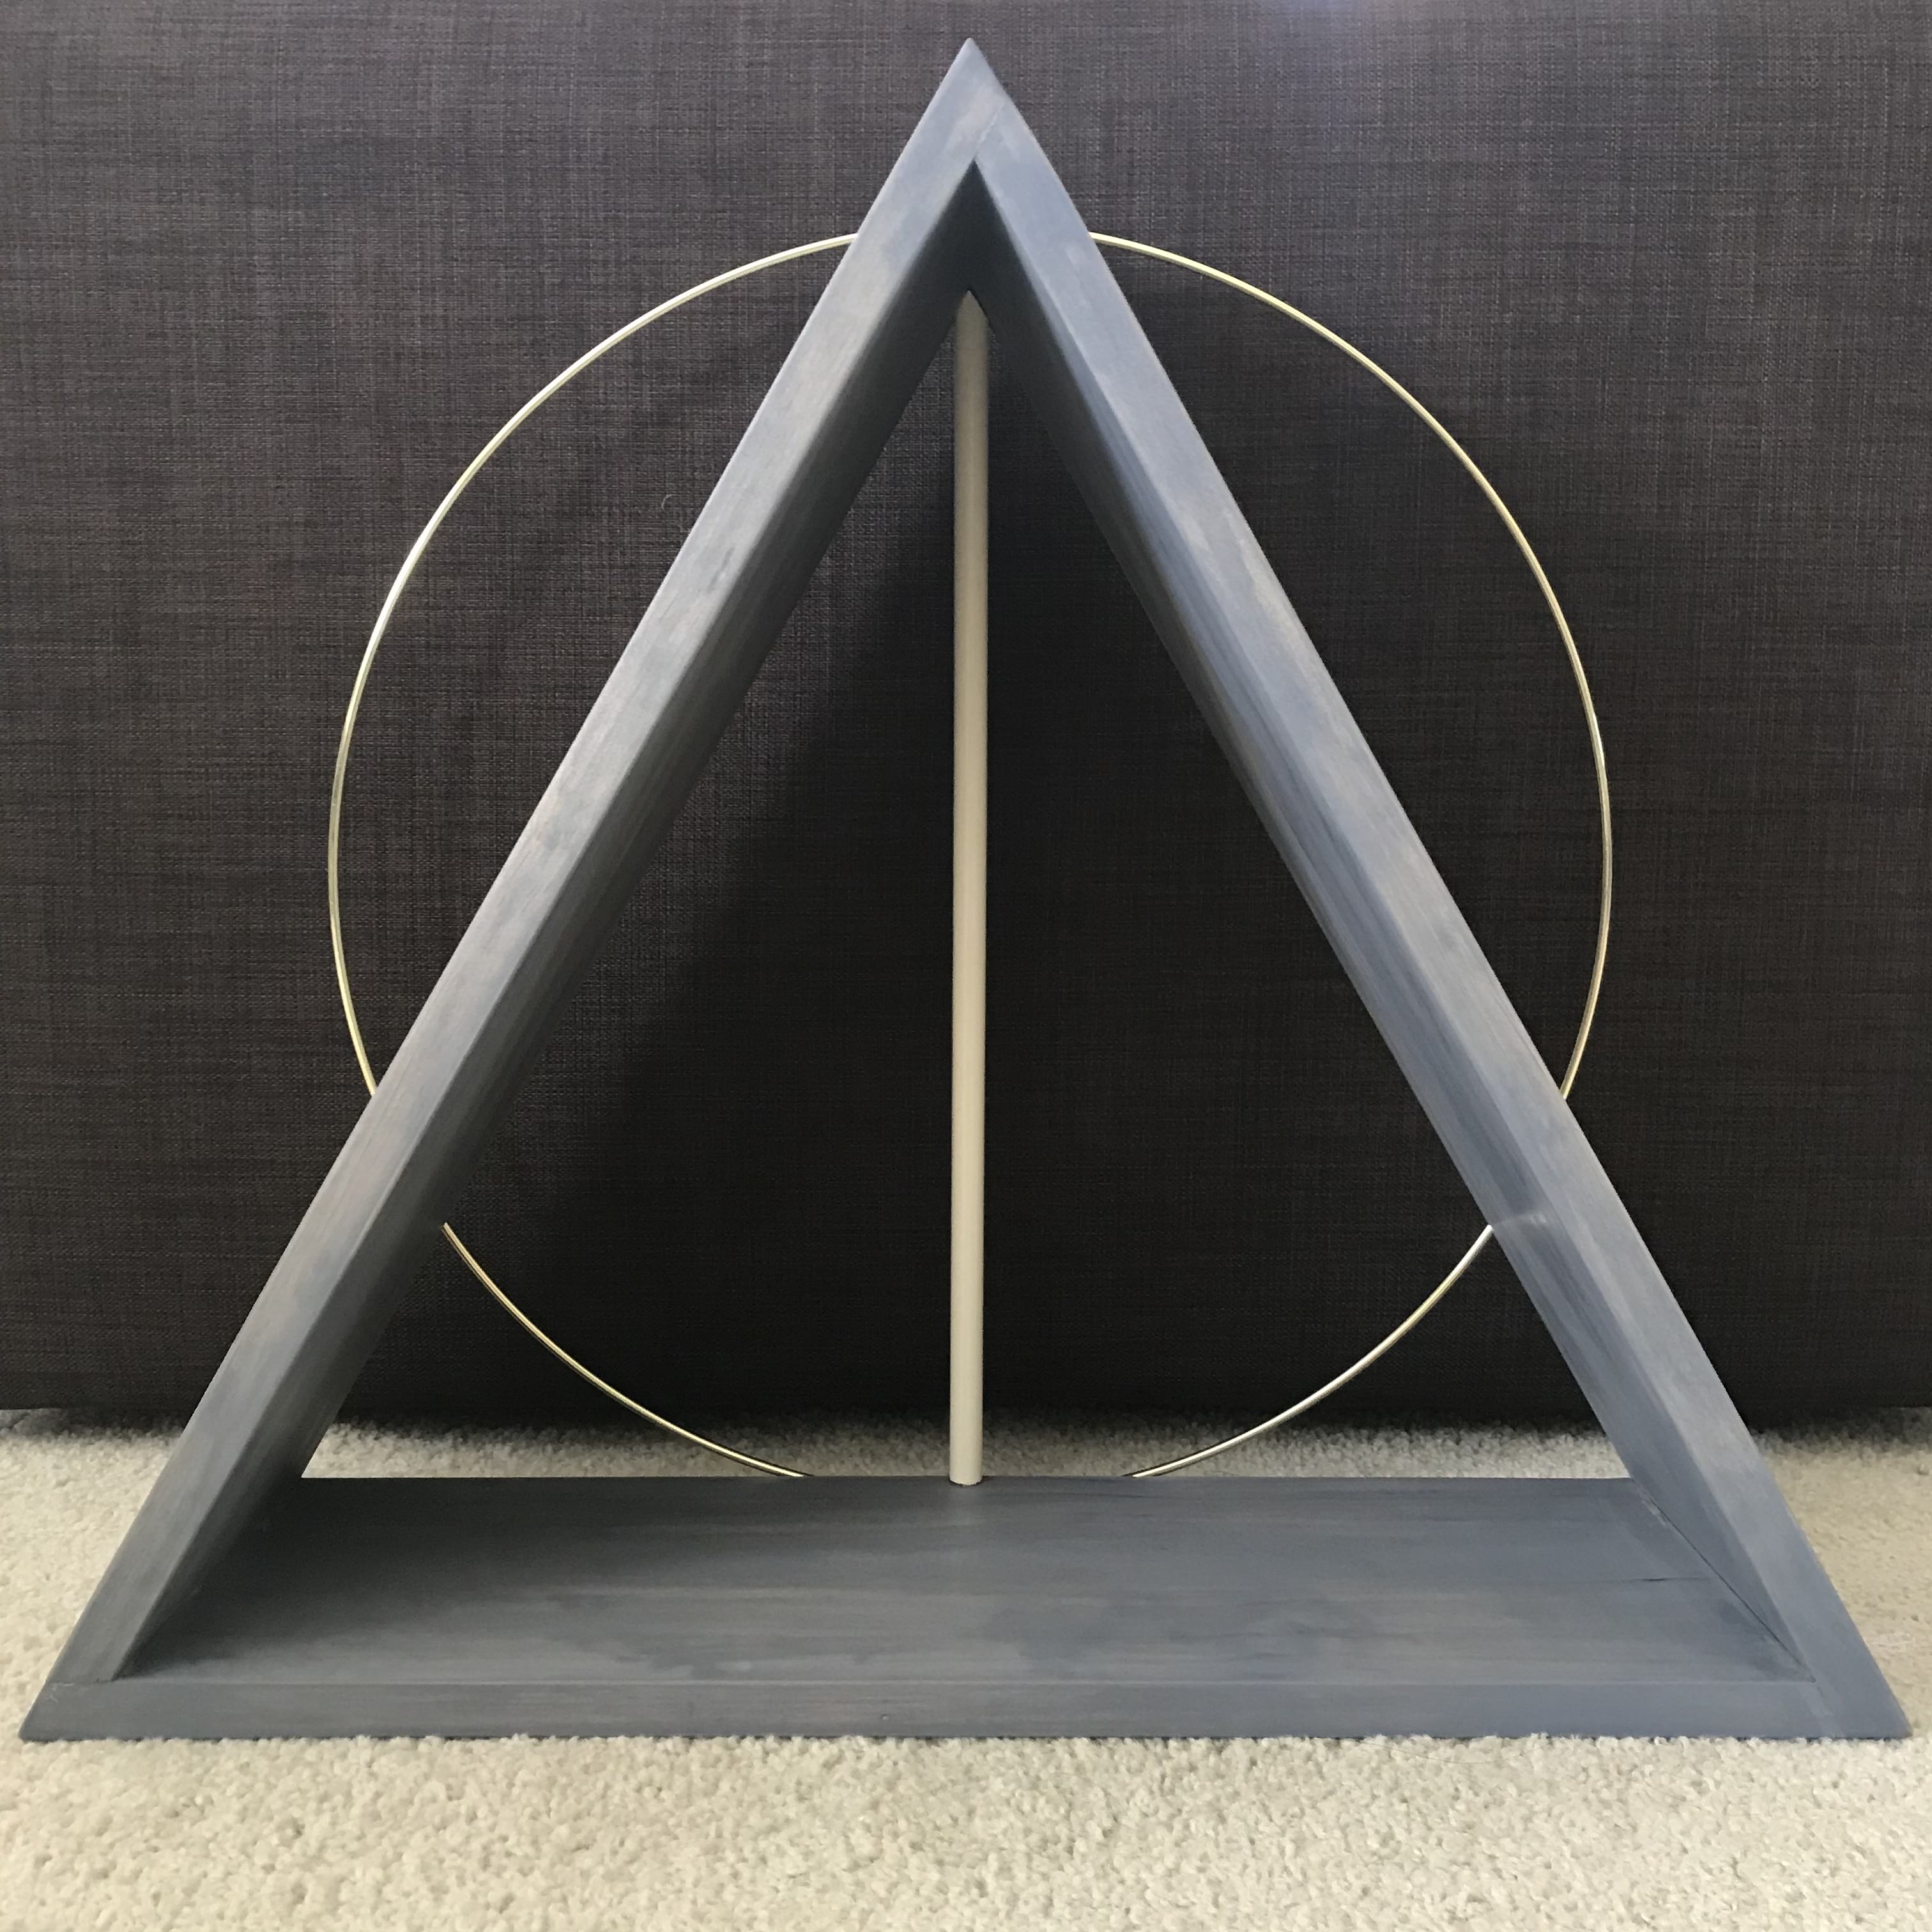
Triangle Bookshelf
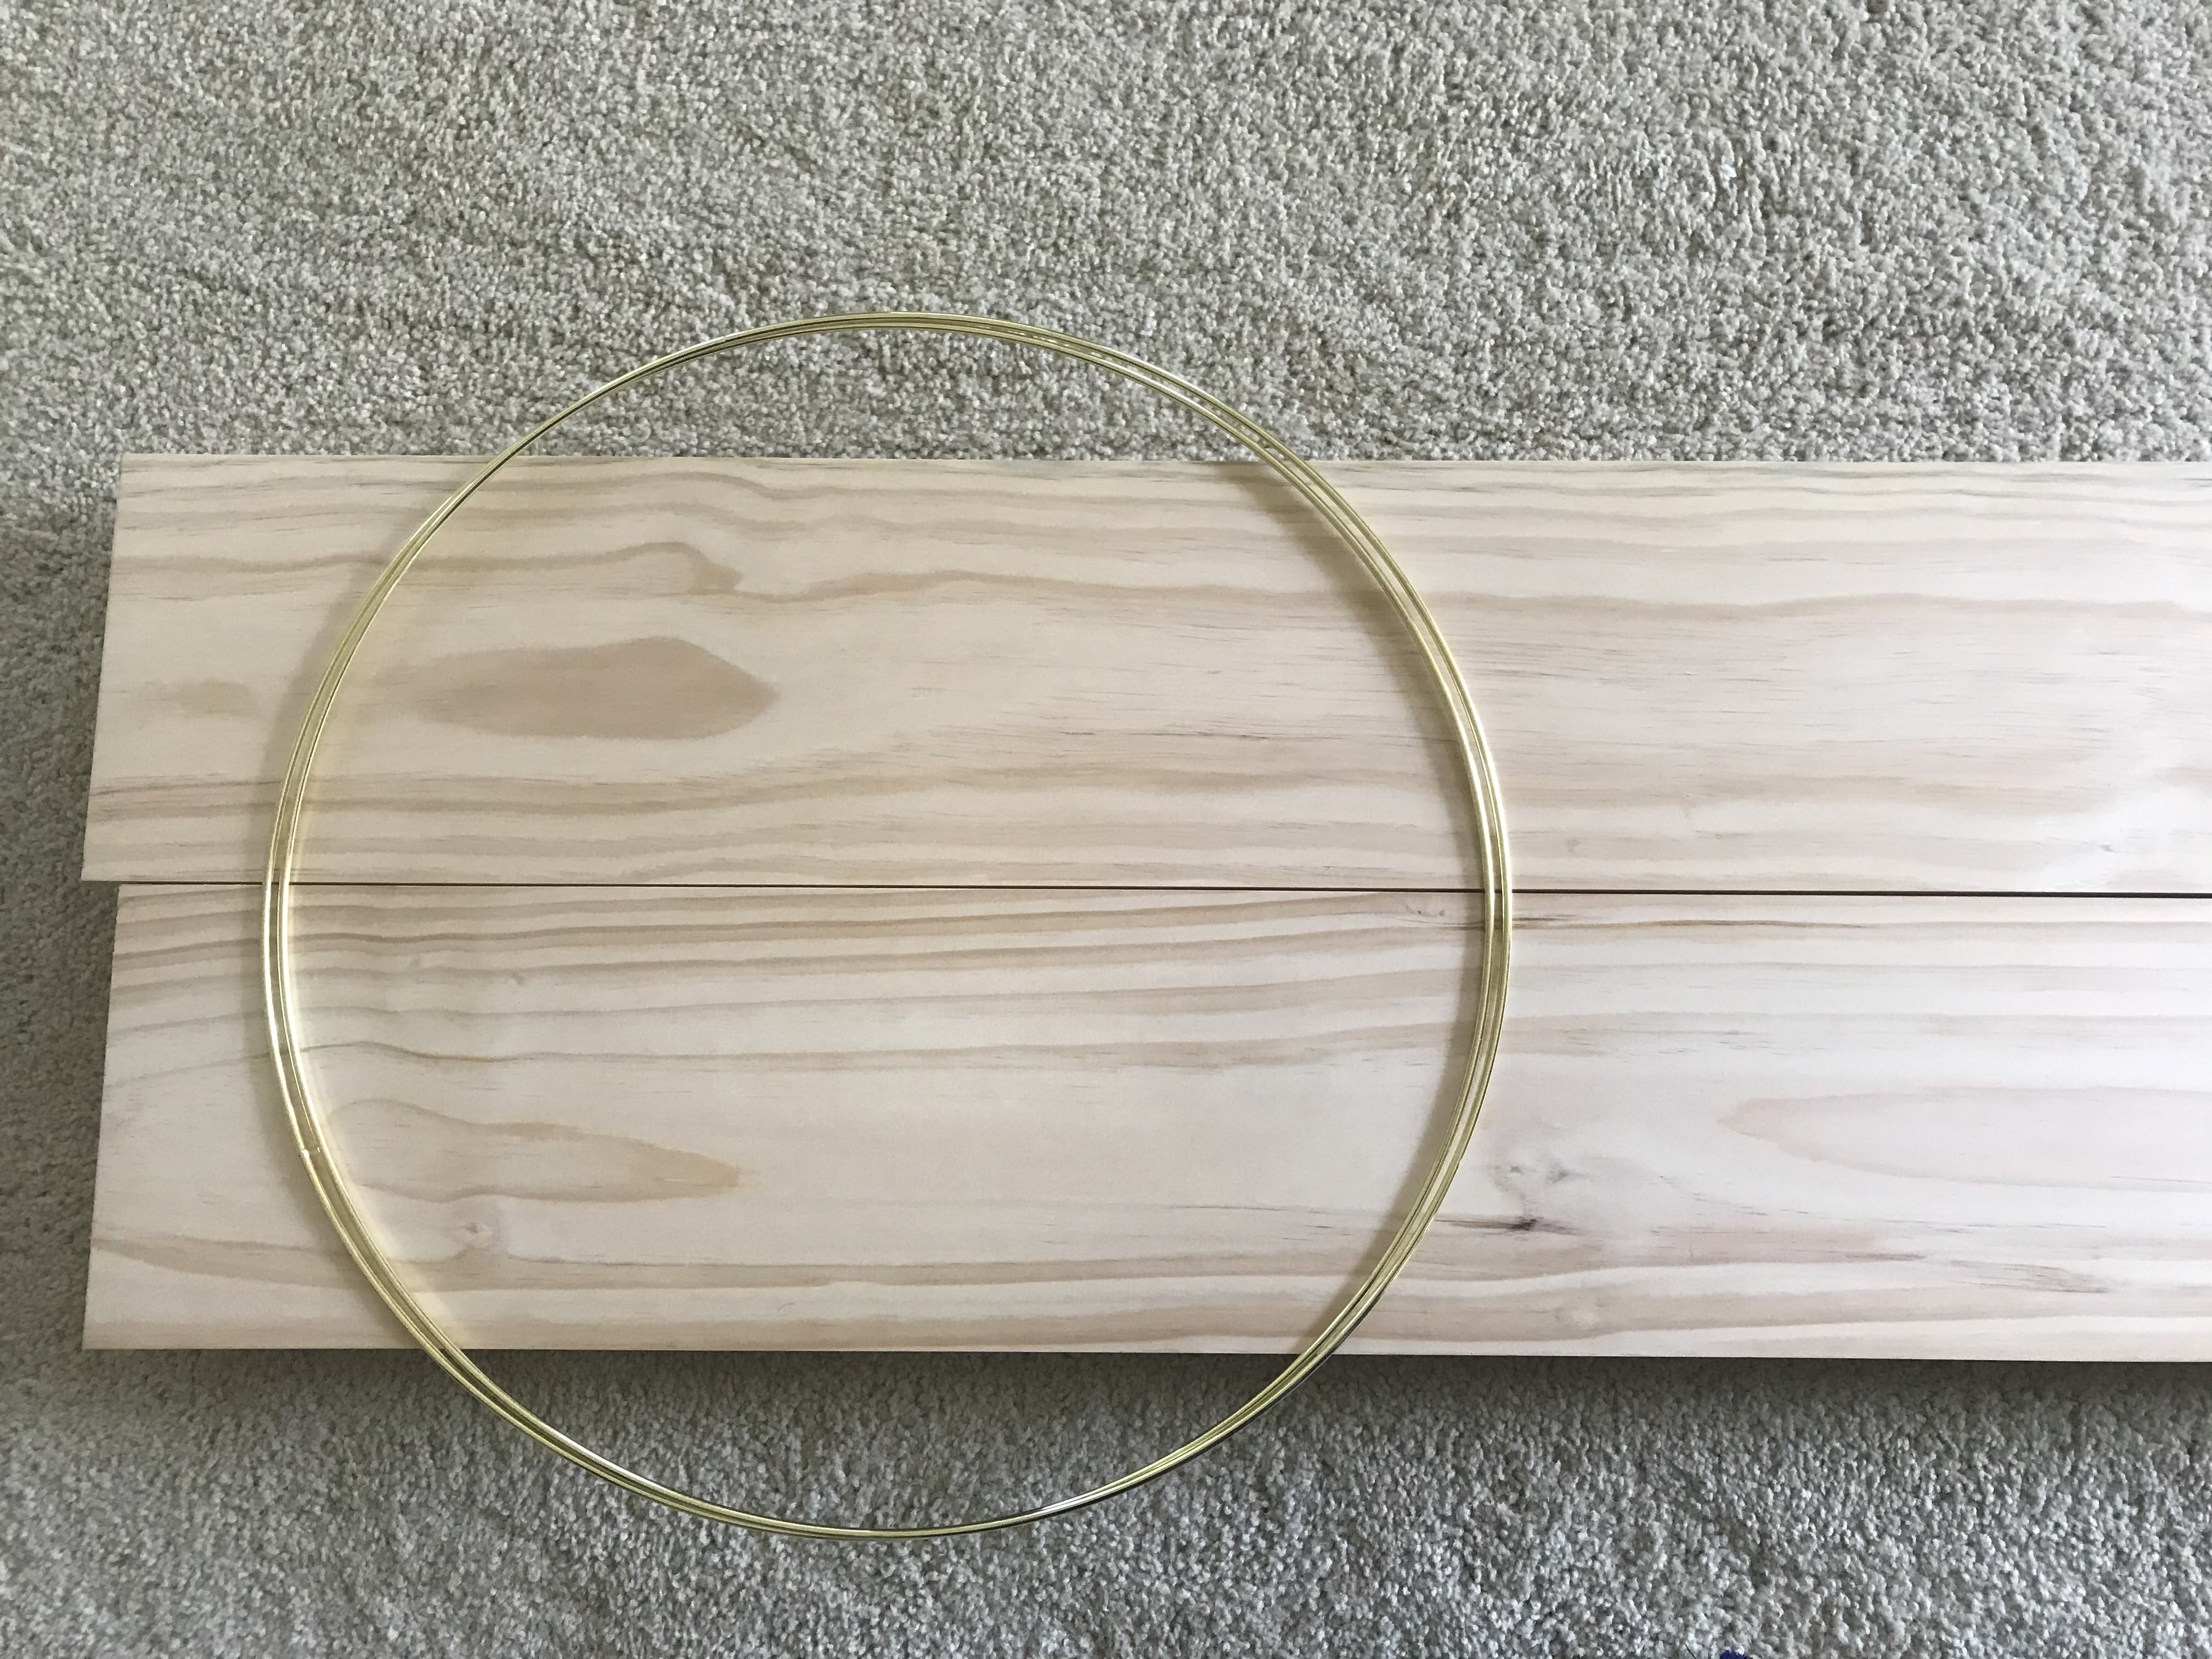
Gathering materials: 6 feet of 1″ pine boards and a 20″ gold hoop.
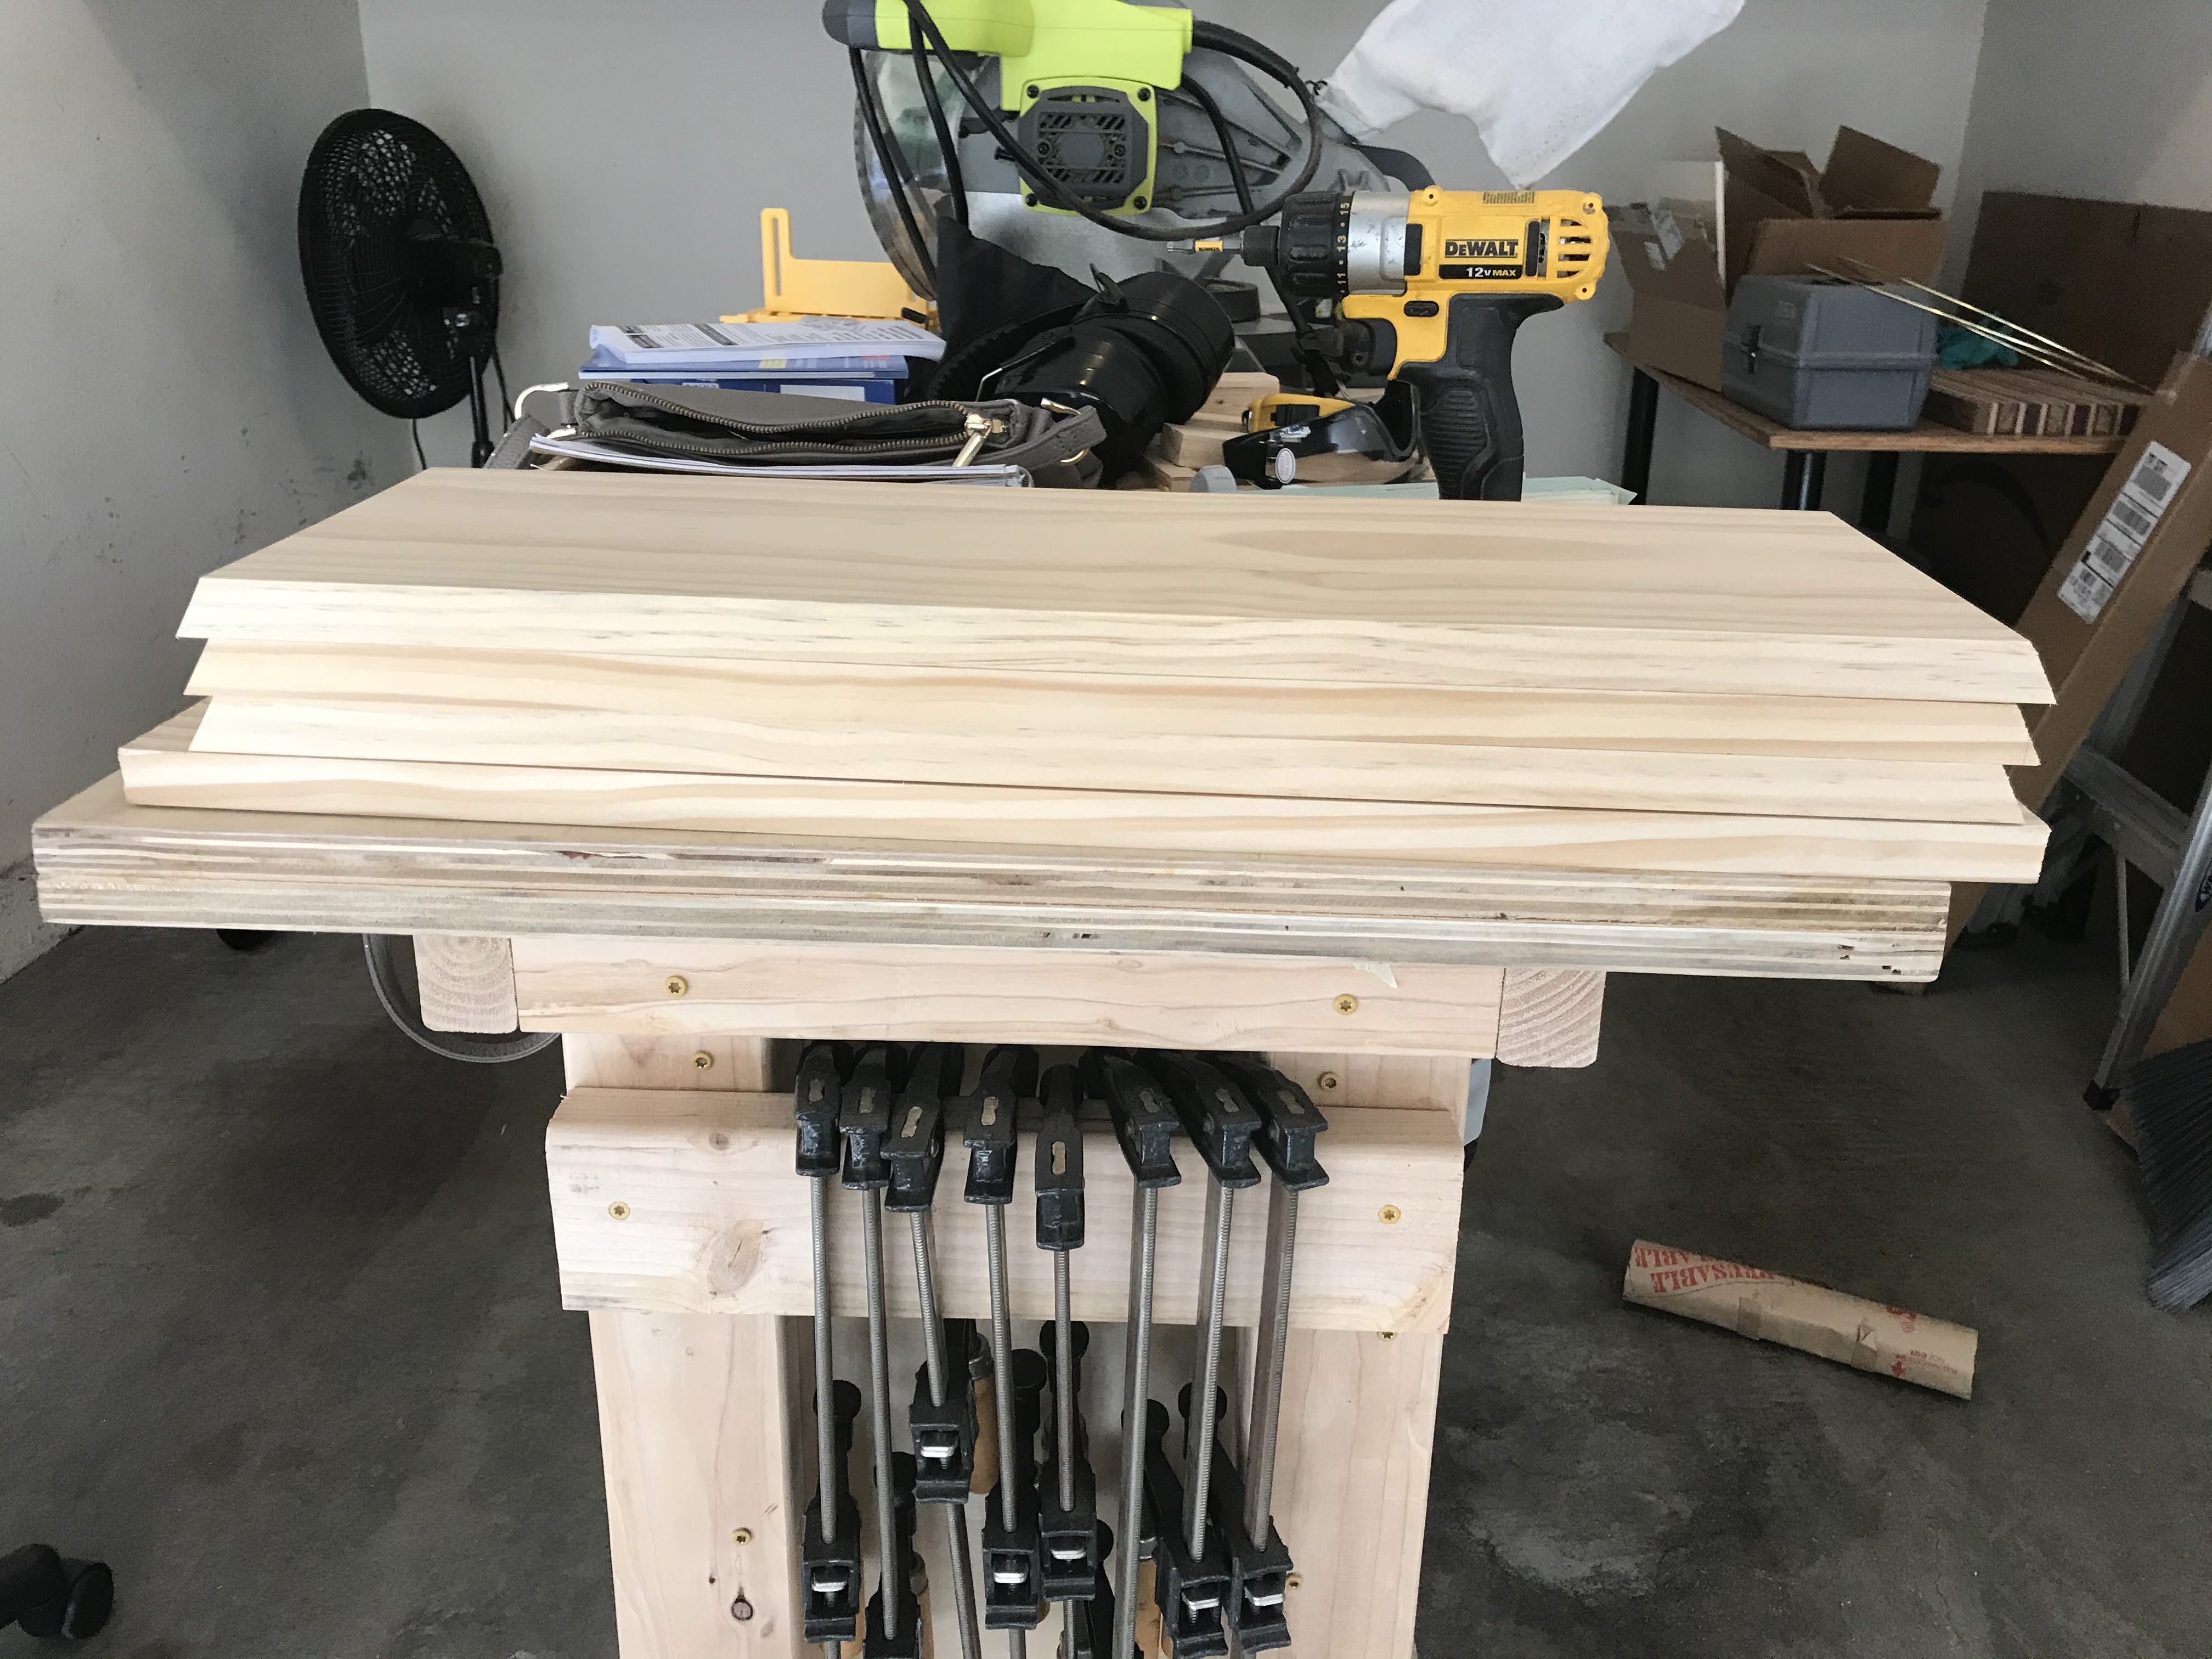
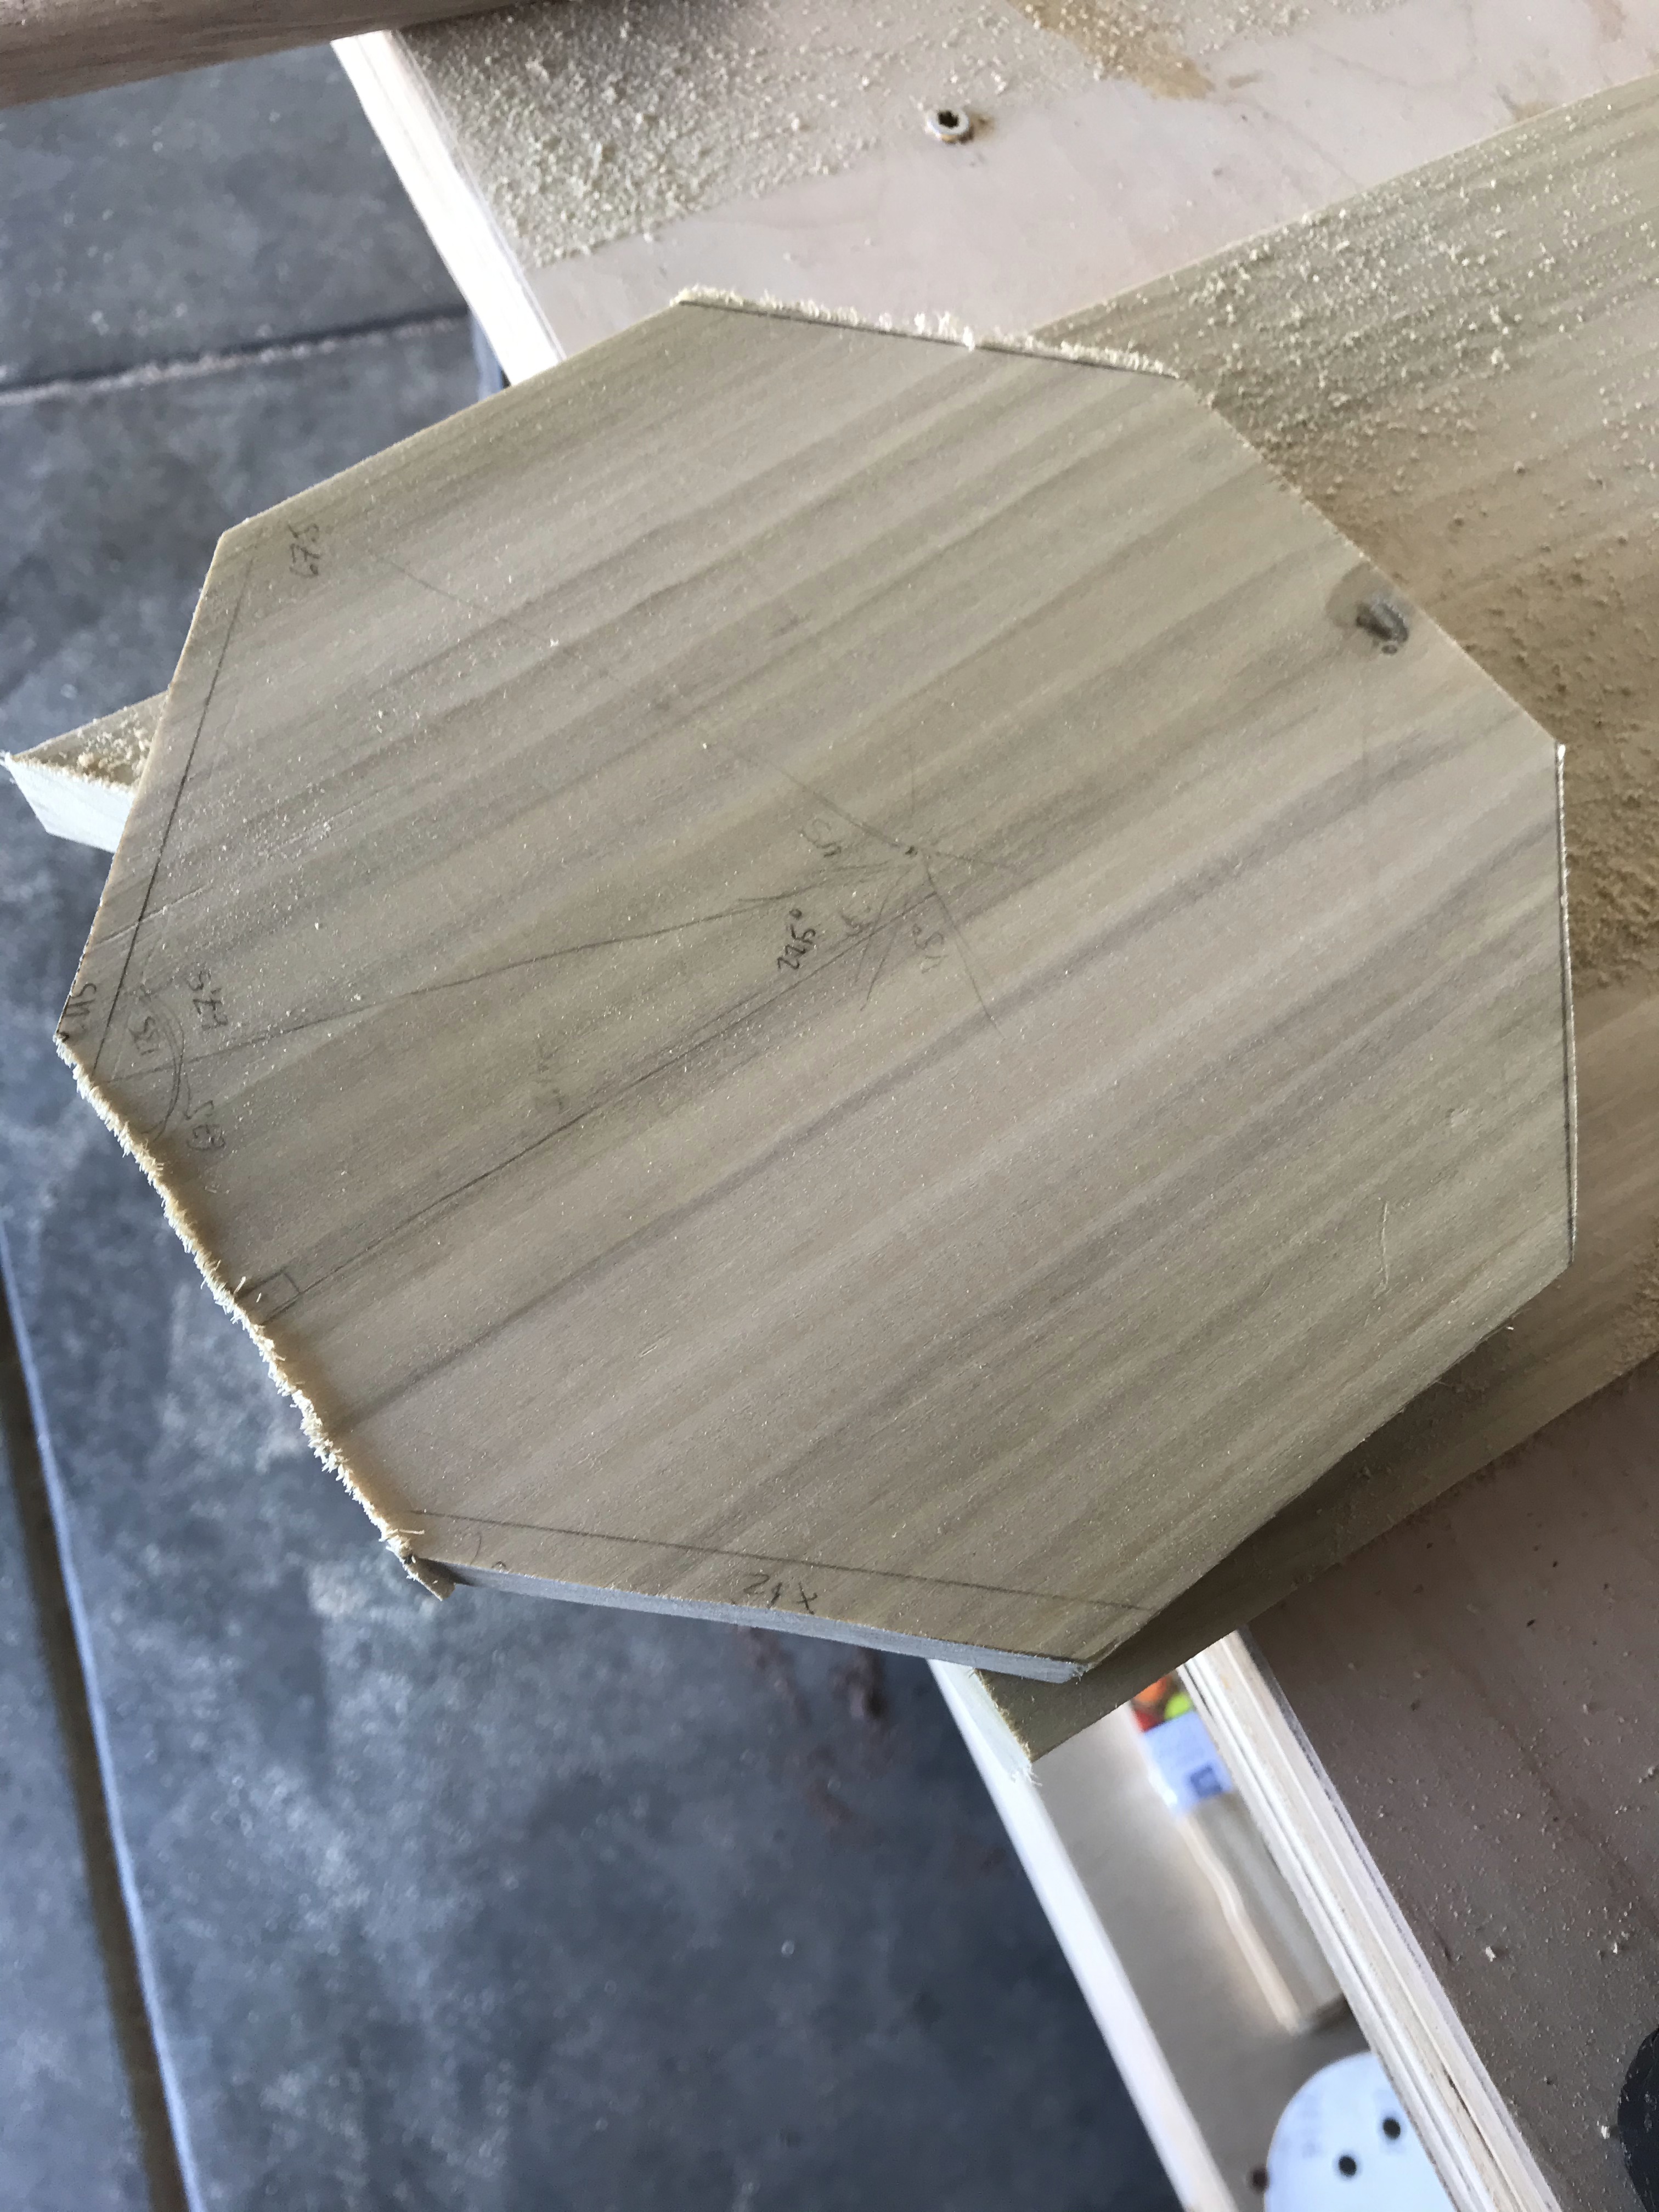
Cut the boards to 24″ with 60 degree angles on the edges of the boards.
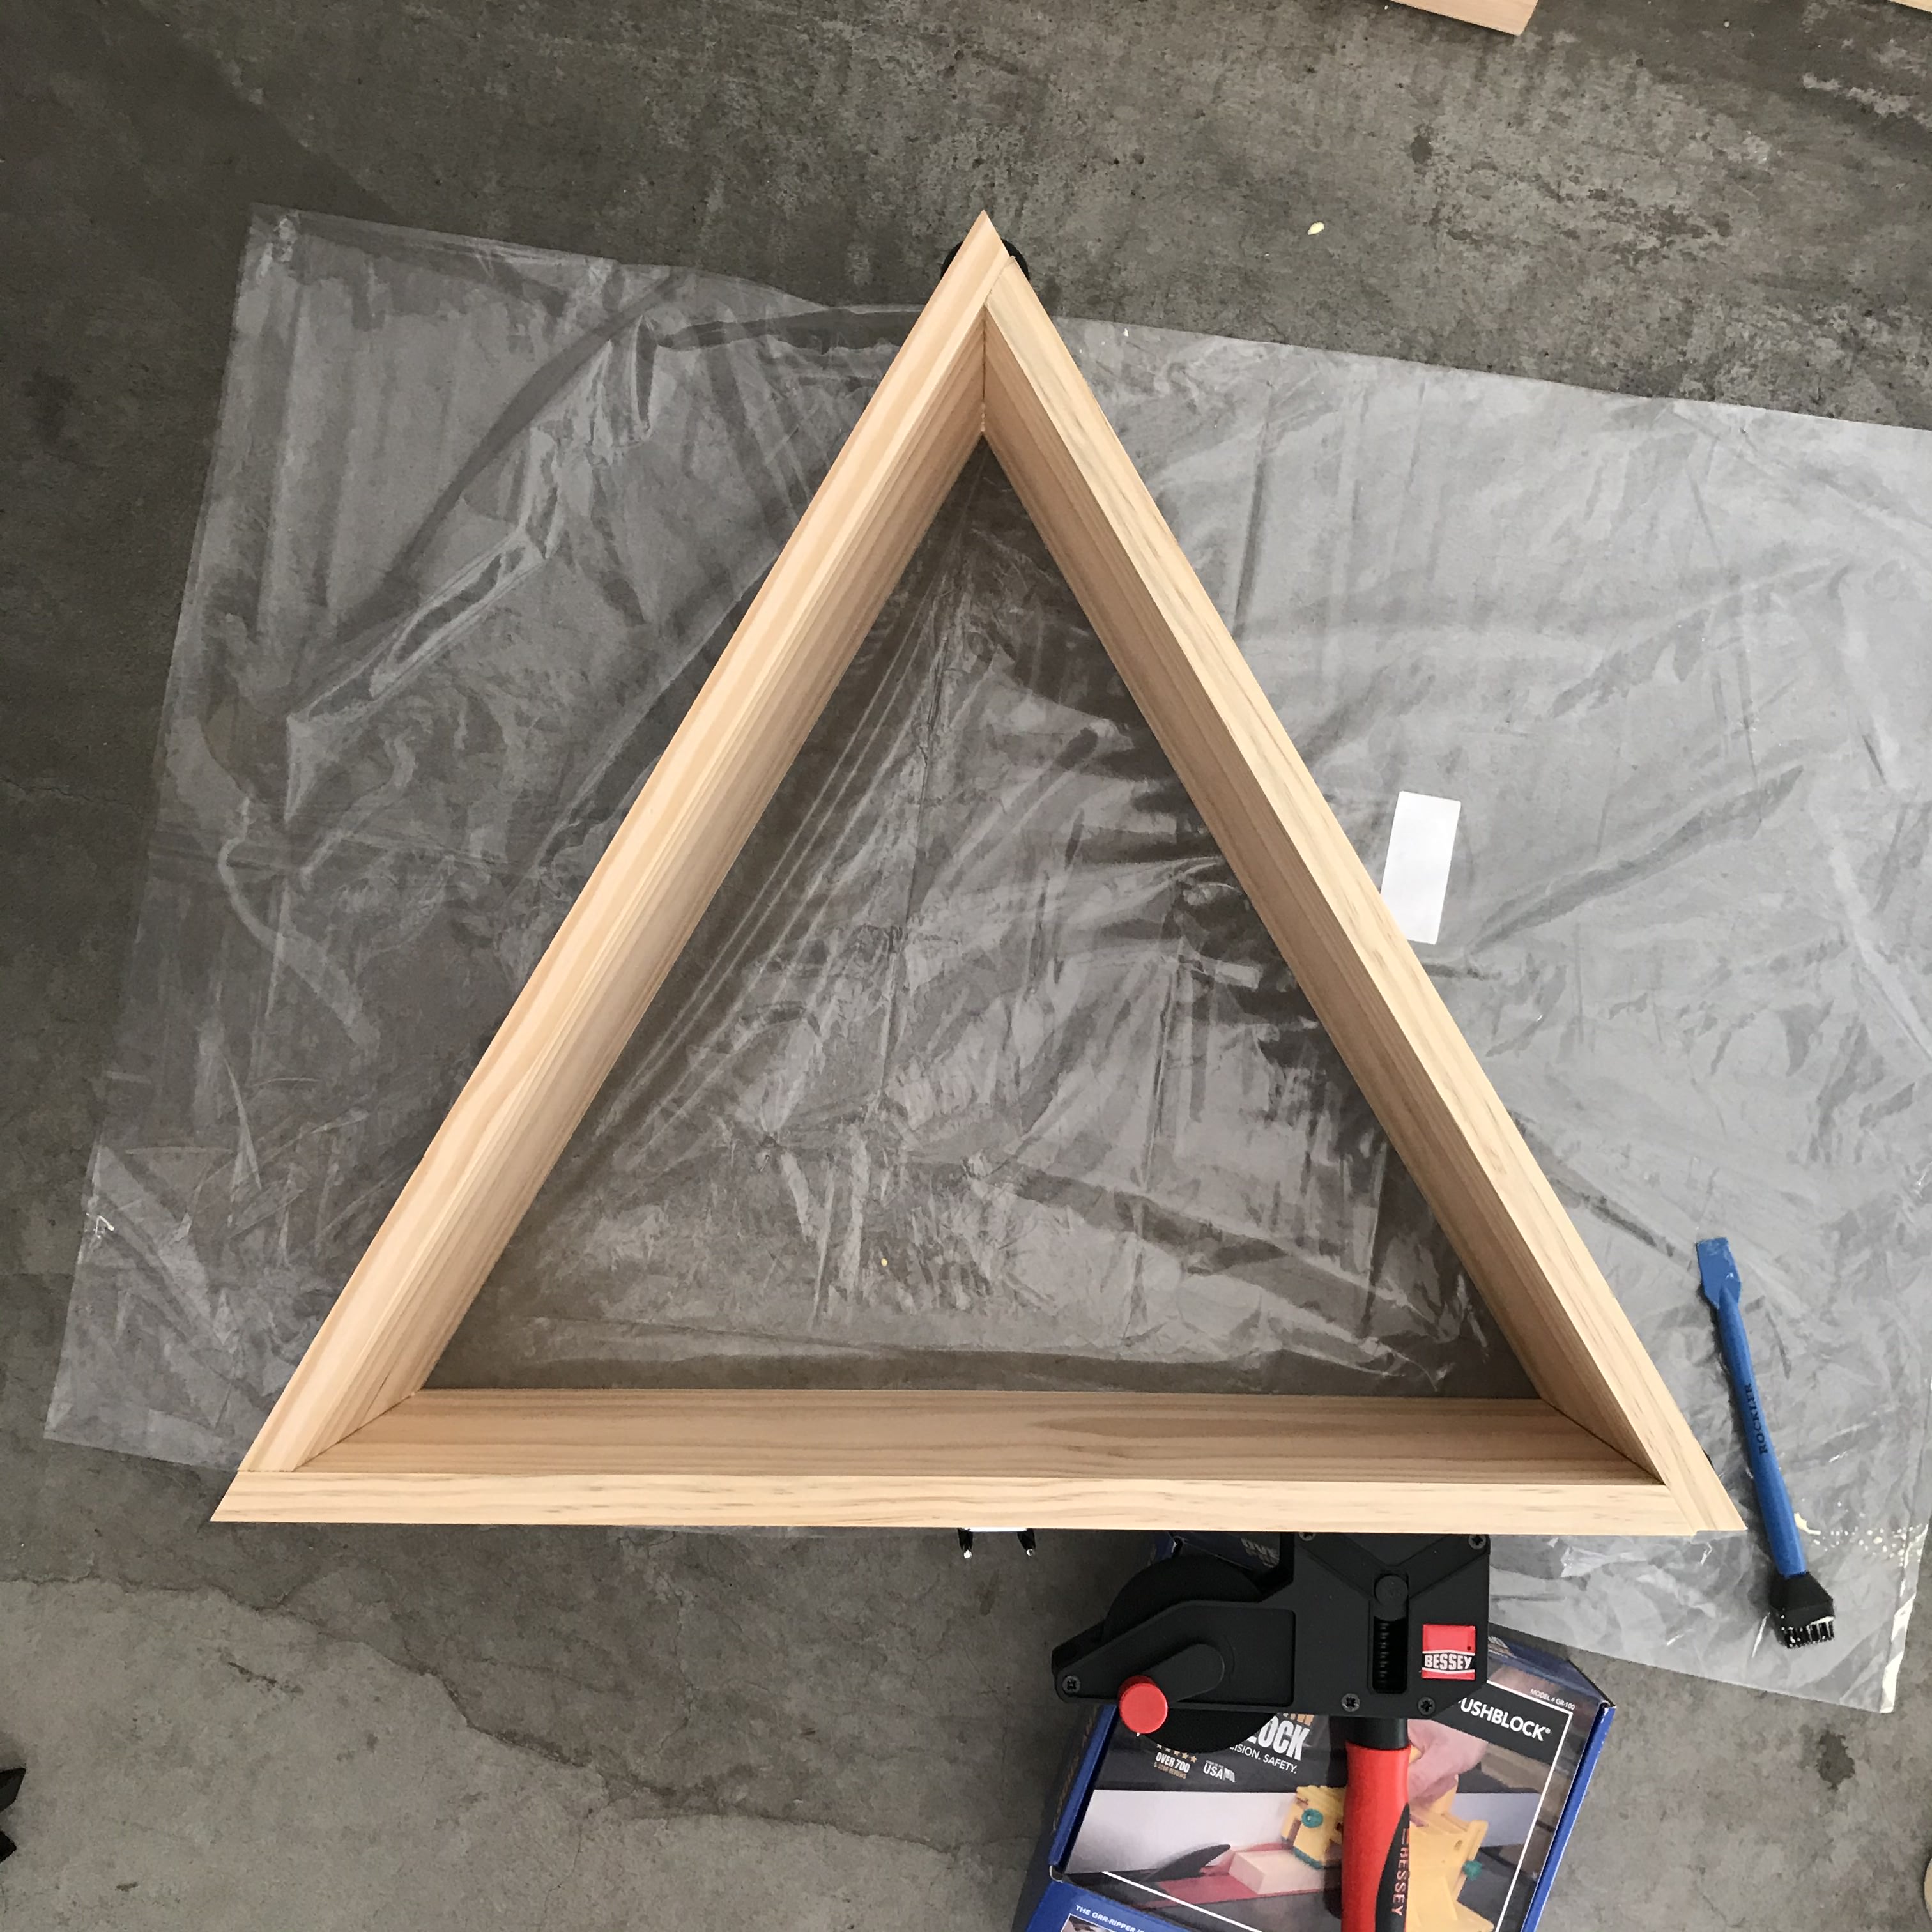
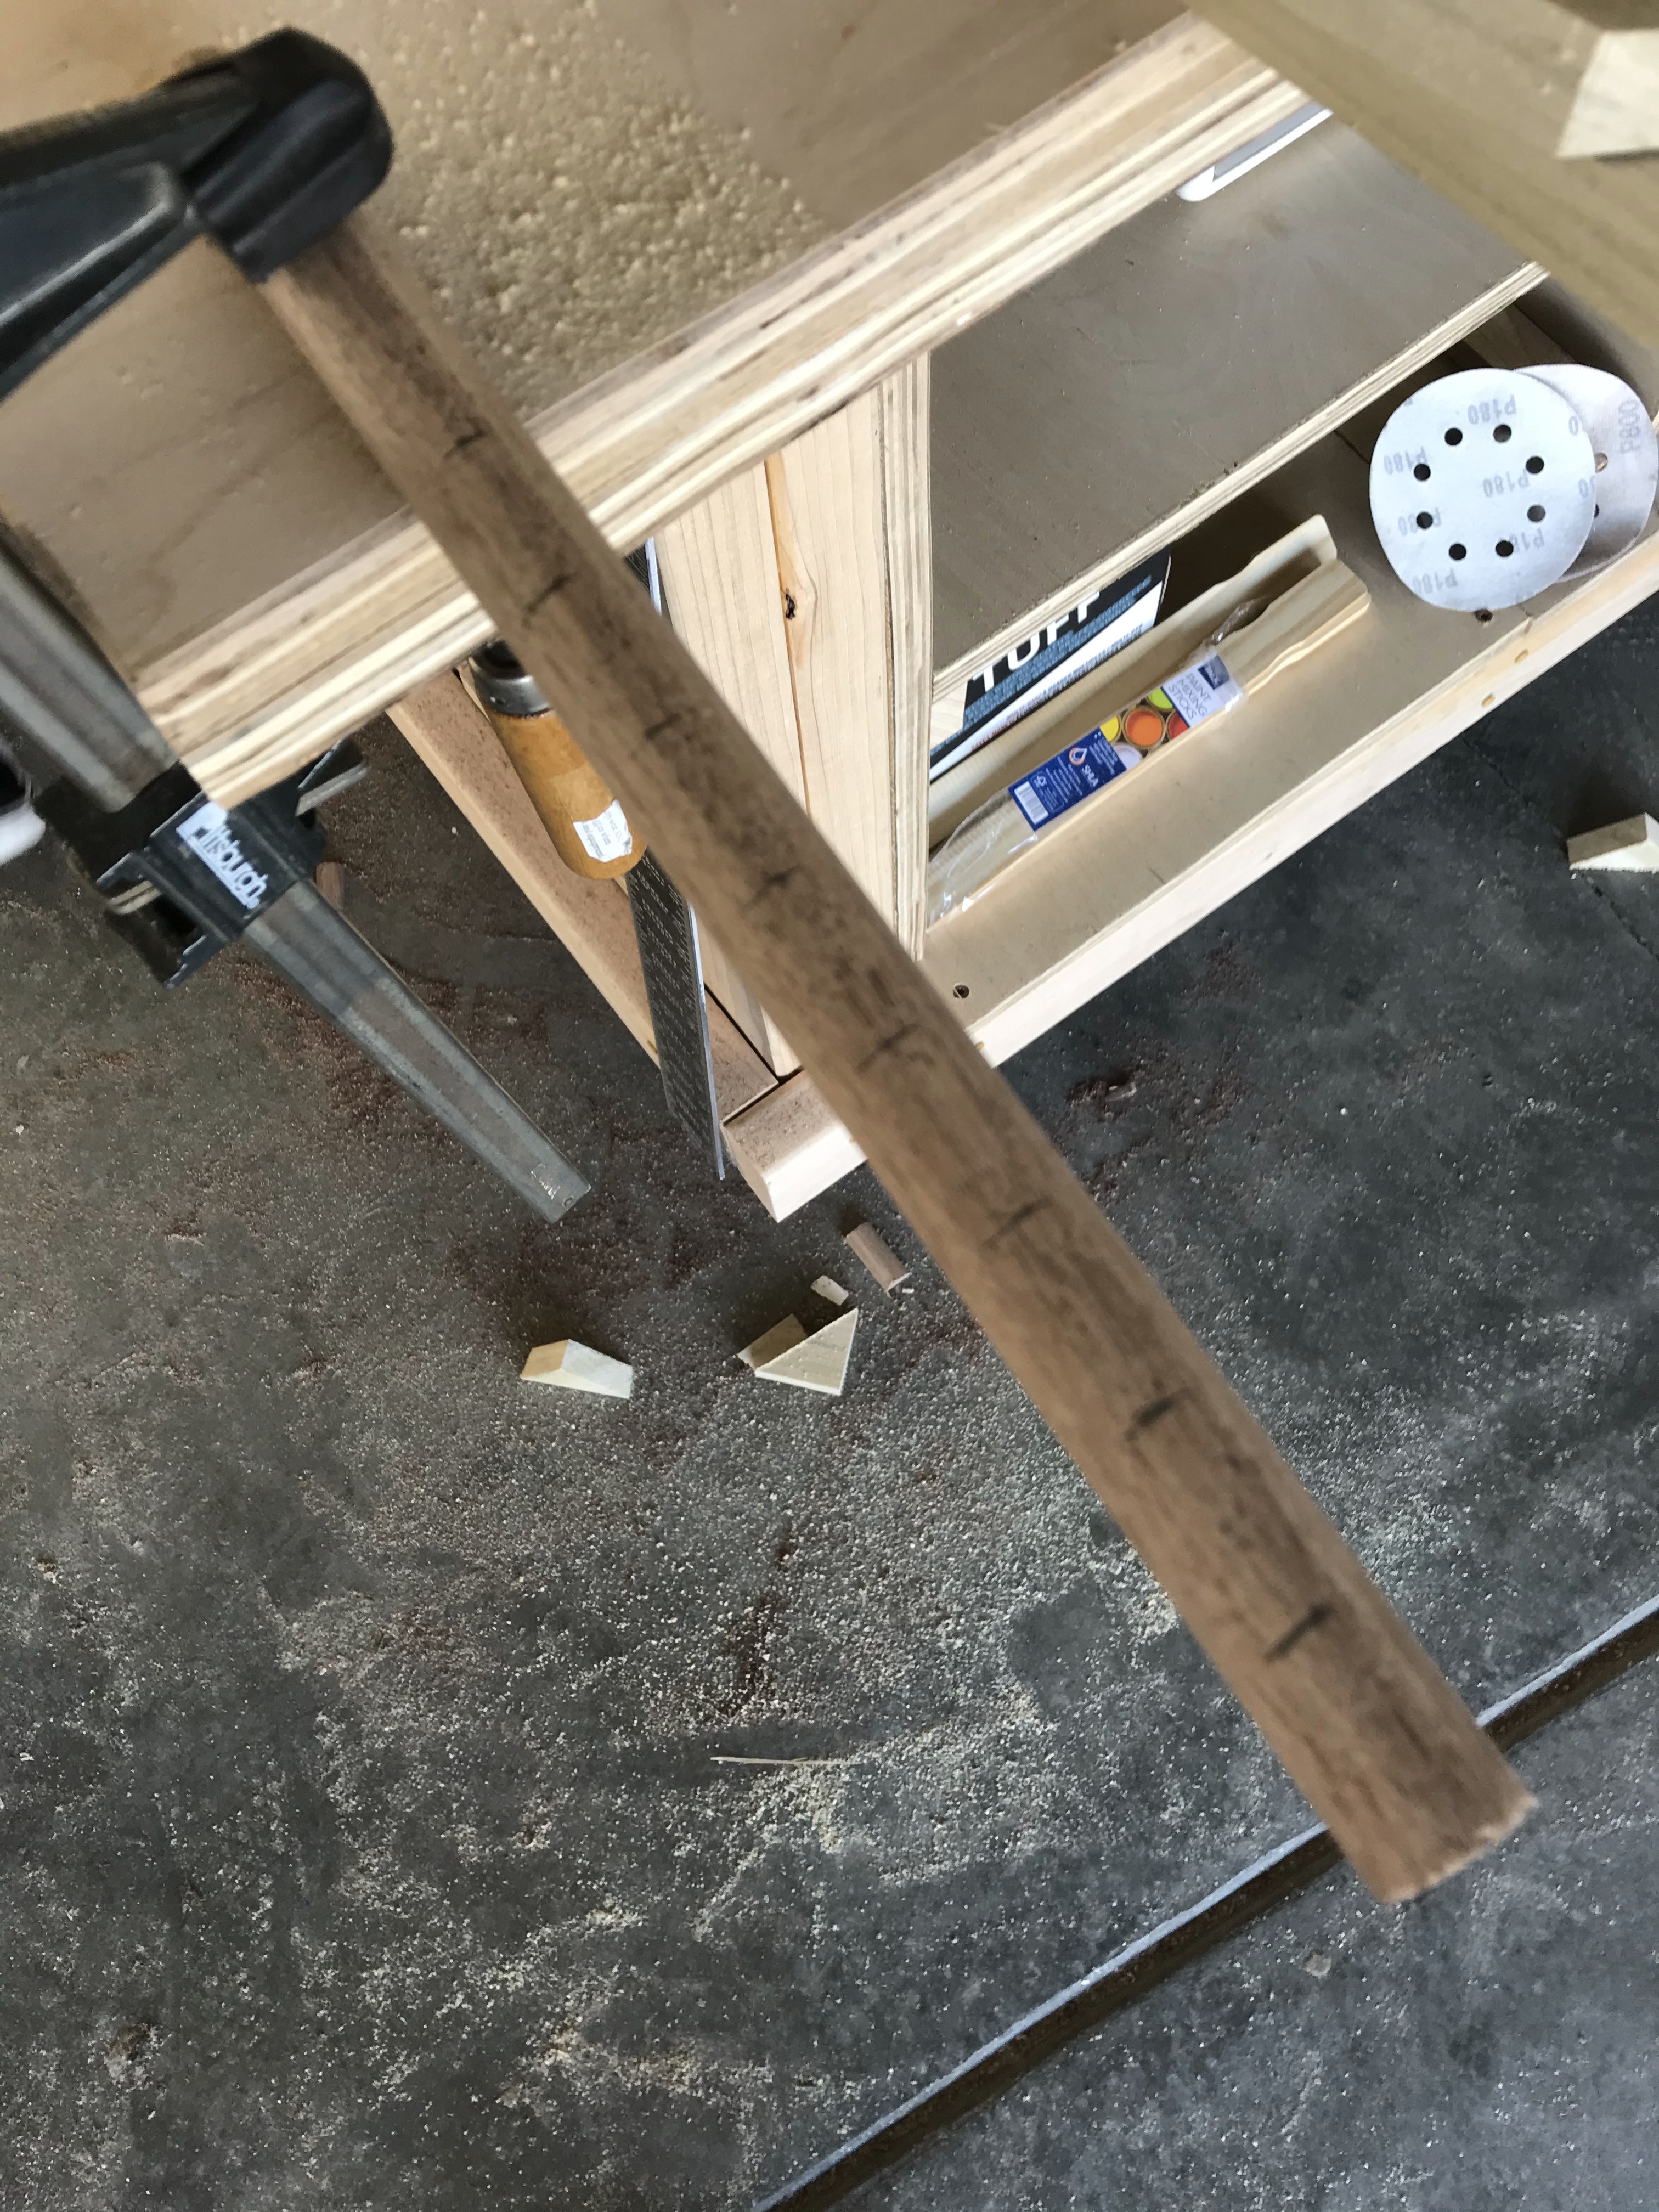
Used a strap clamp and wood glue to bring this triangle together. I solidified the structure by inserting one screw in the middle of each seam.
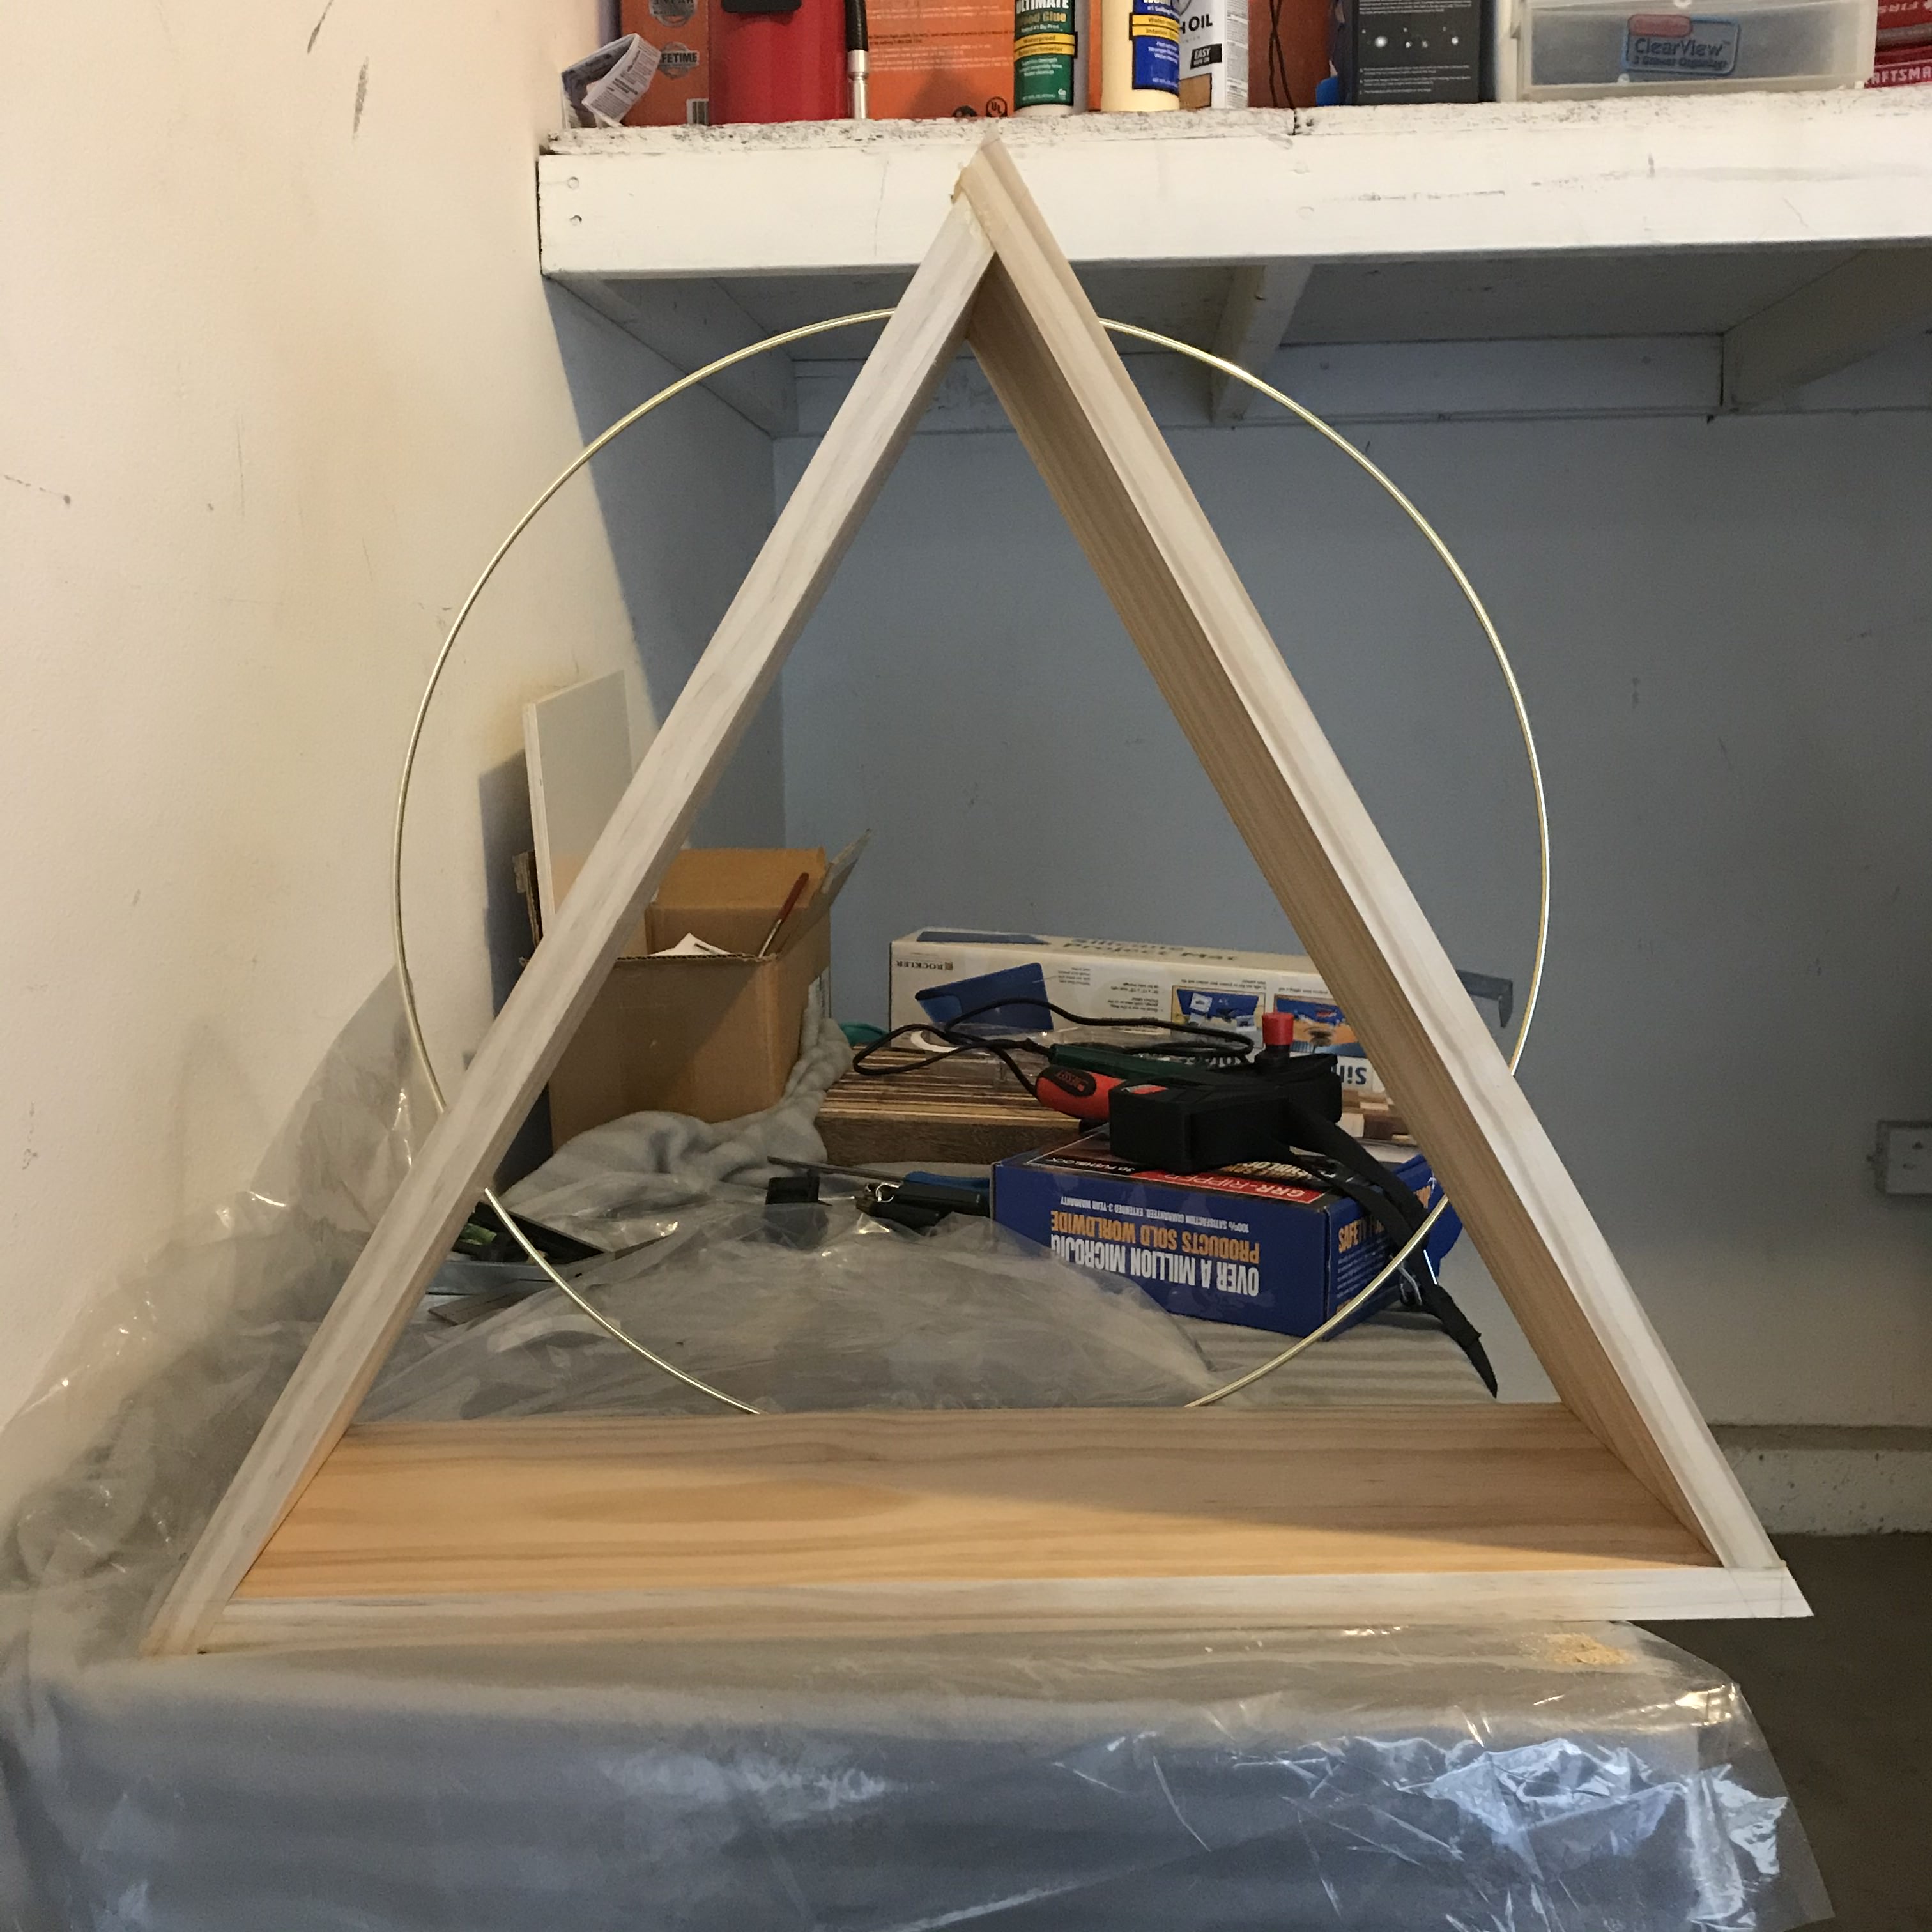
Sanding took forever, but it felt great in the end. The edges needed to be softened and the surfaces smoothed for books.
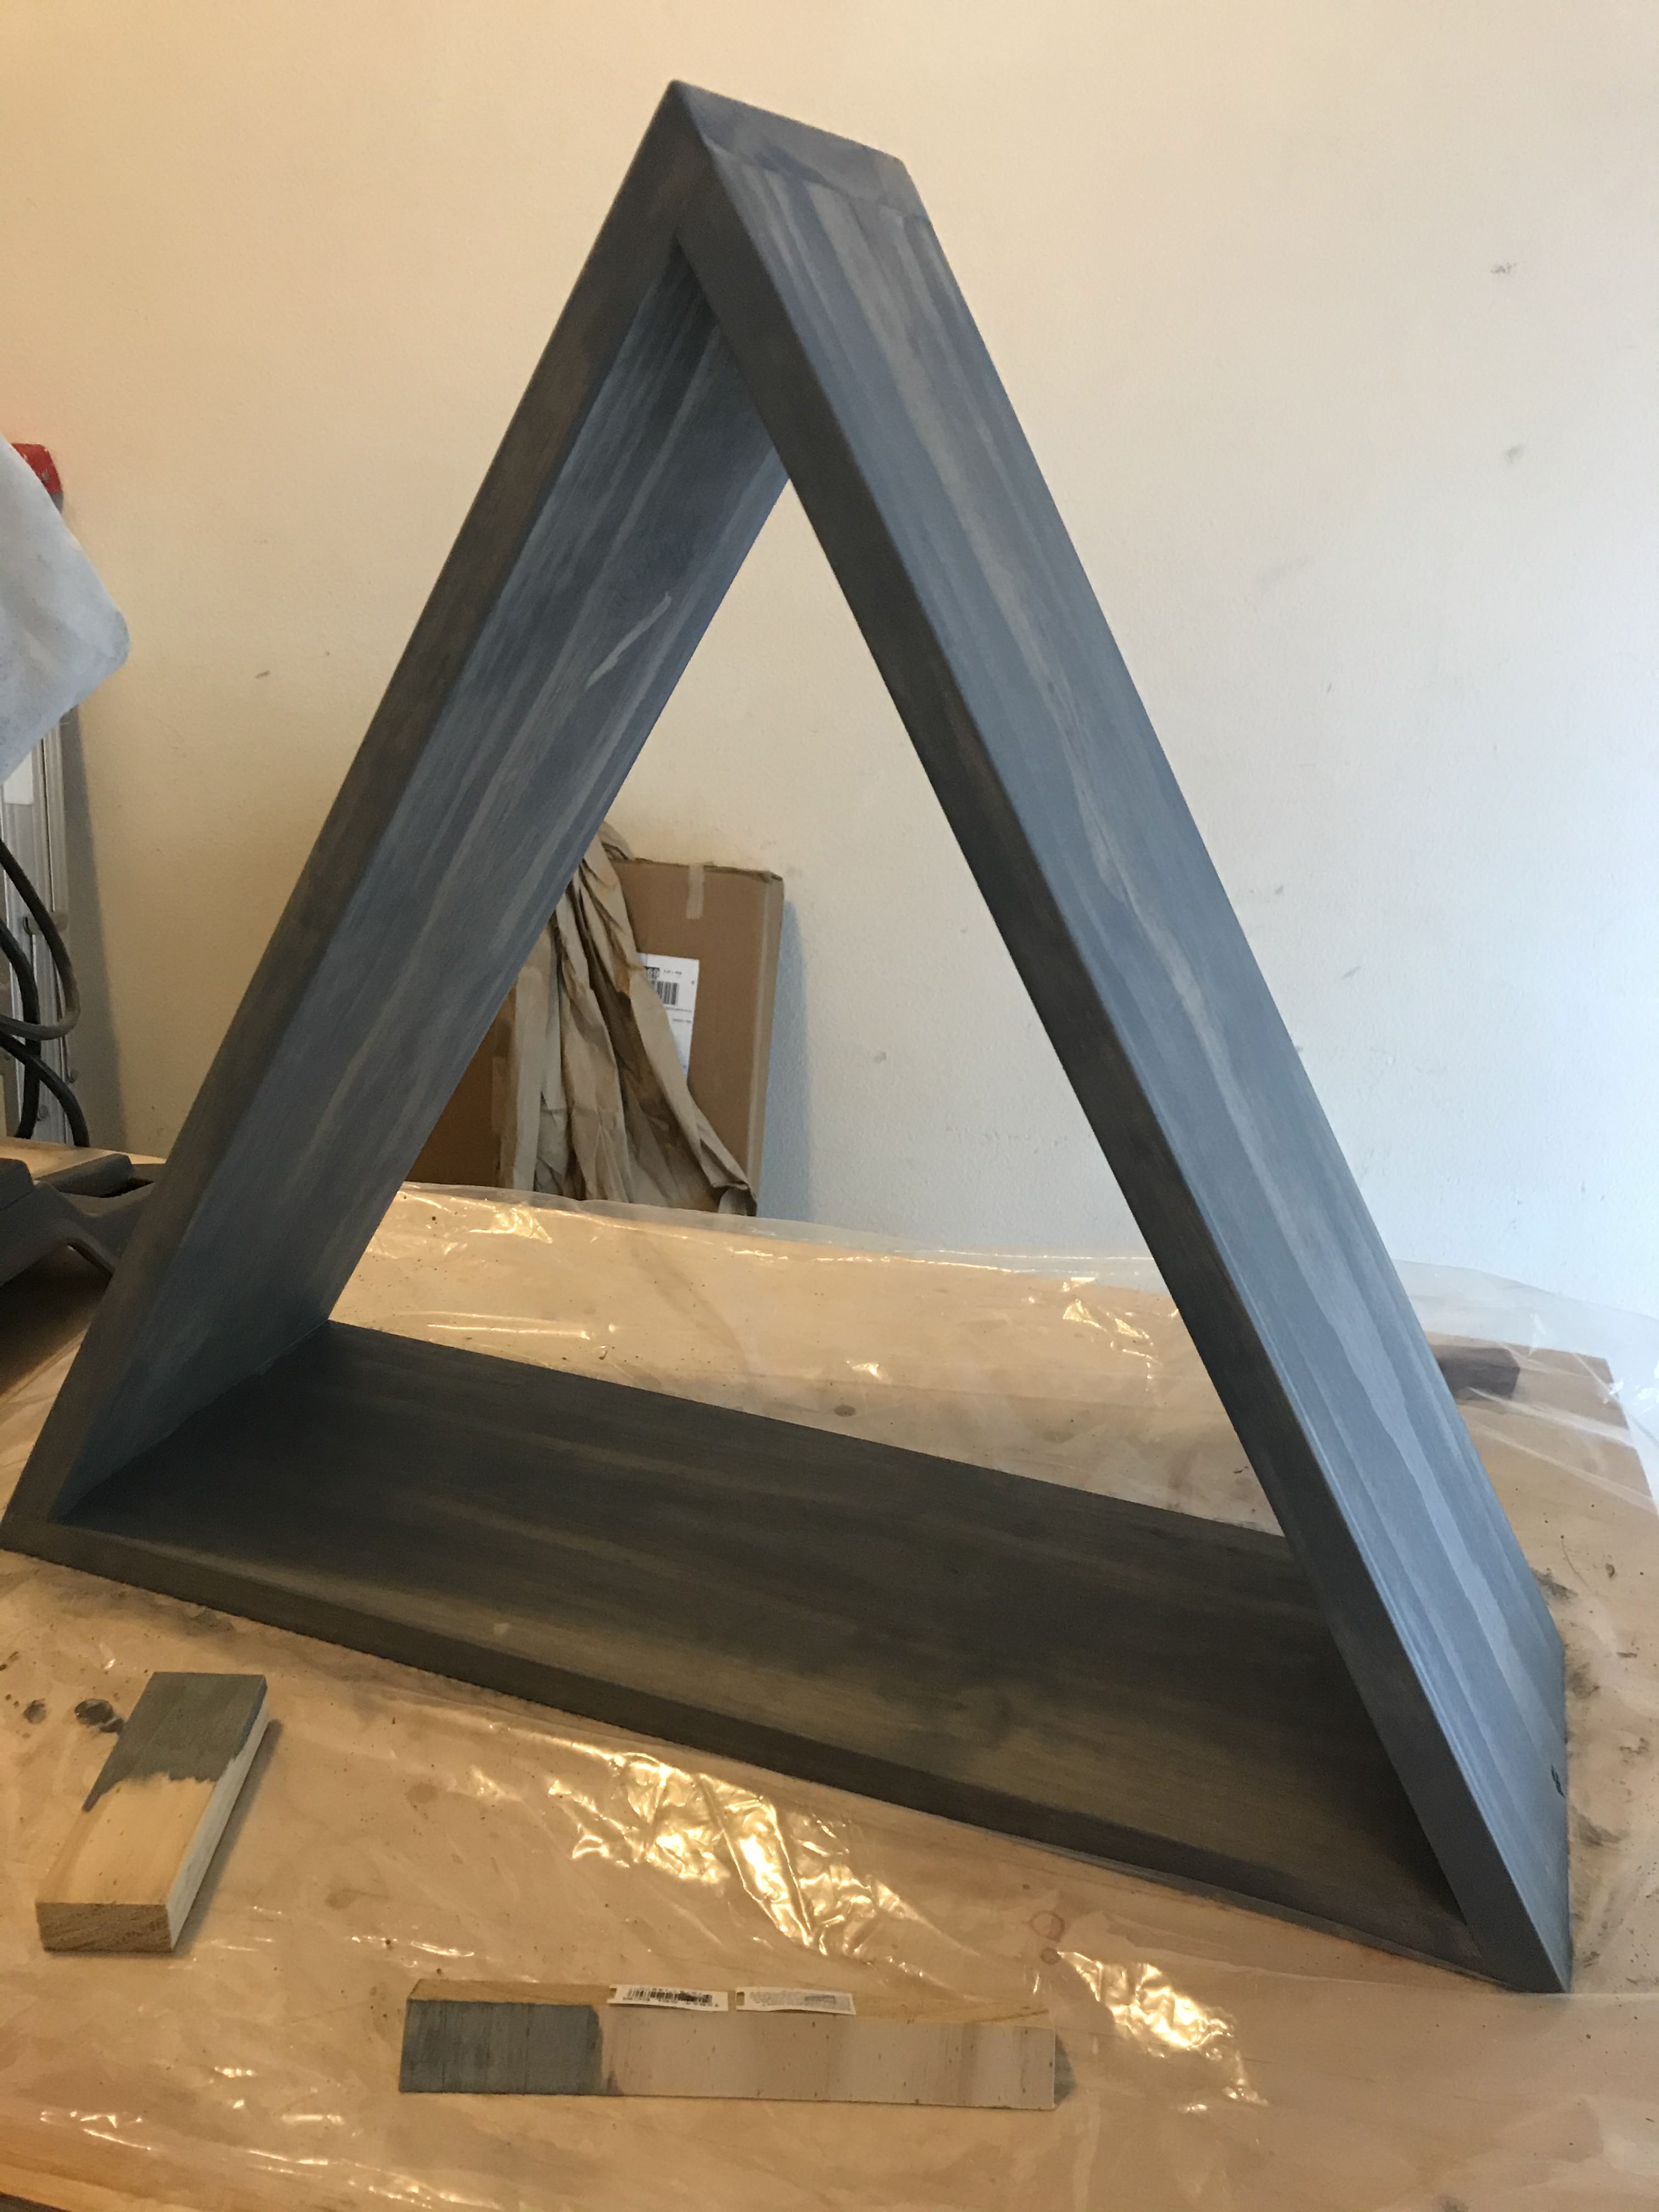
The color palette was grey, white, and gold accents, to match the nursery.
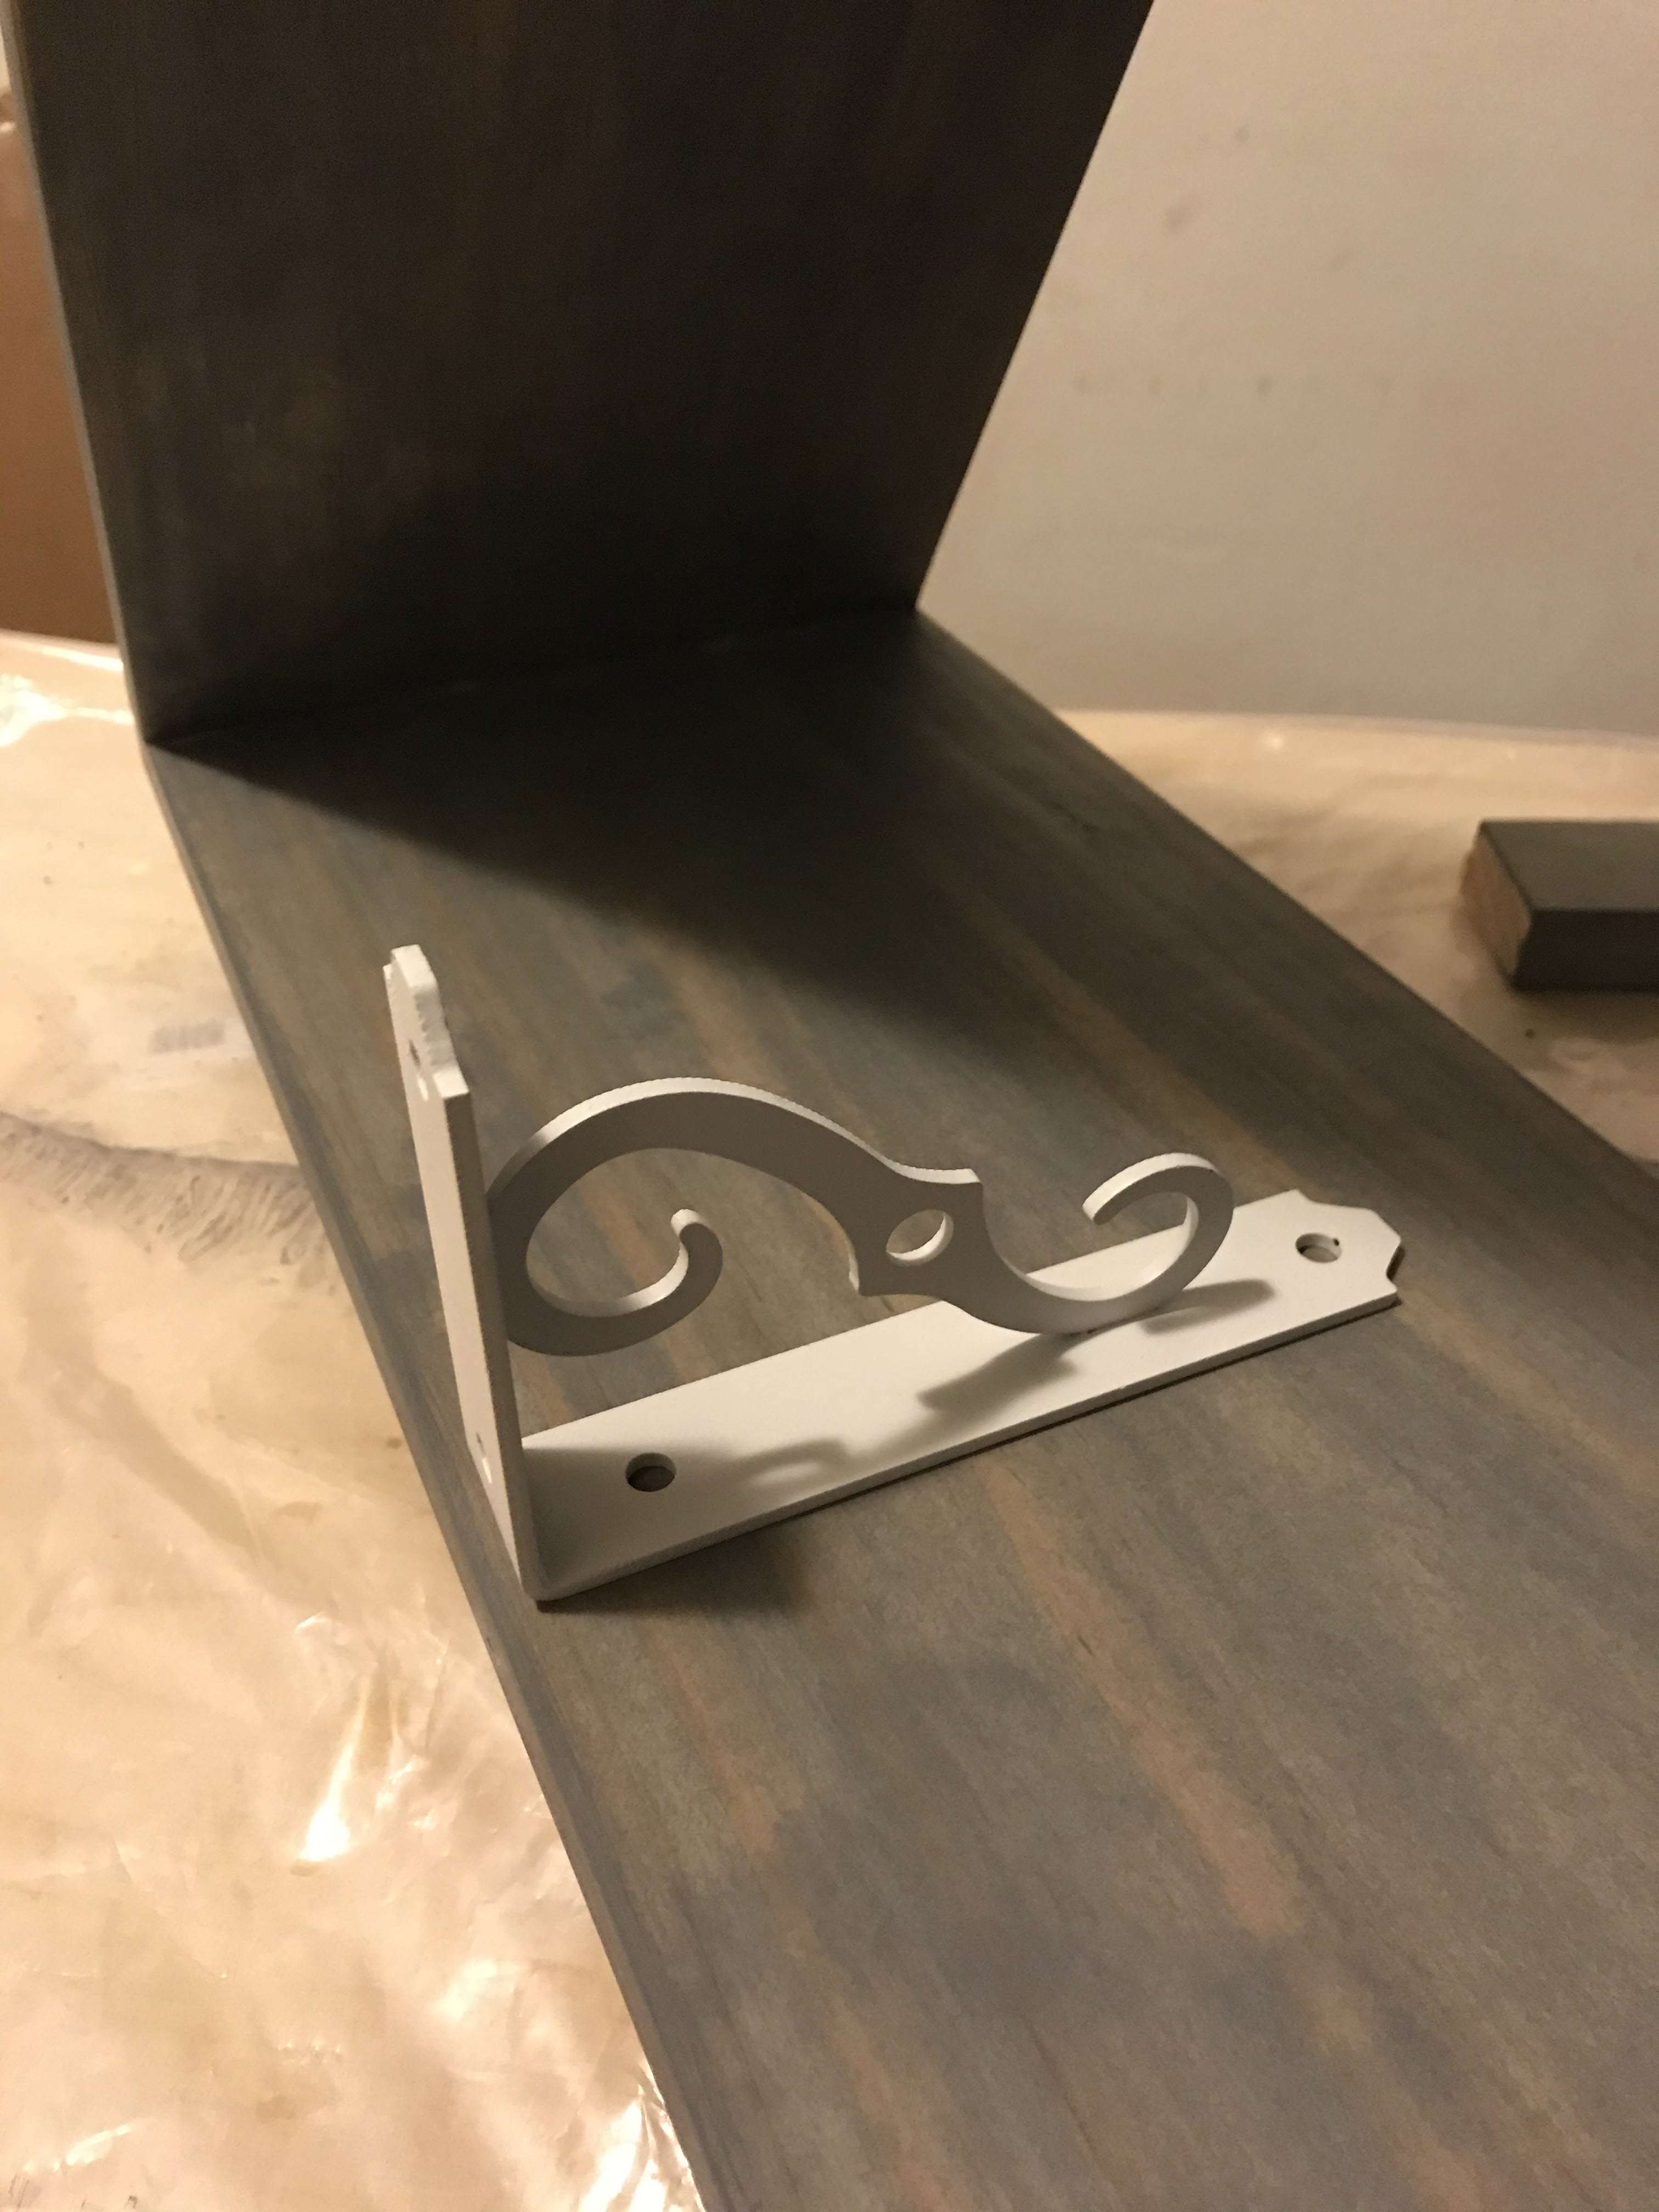
I bought white brackets for shelf installation.
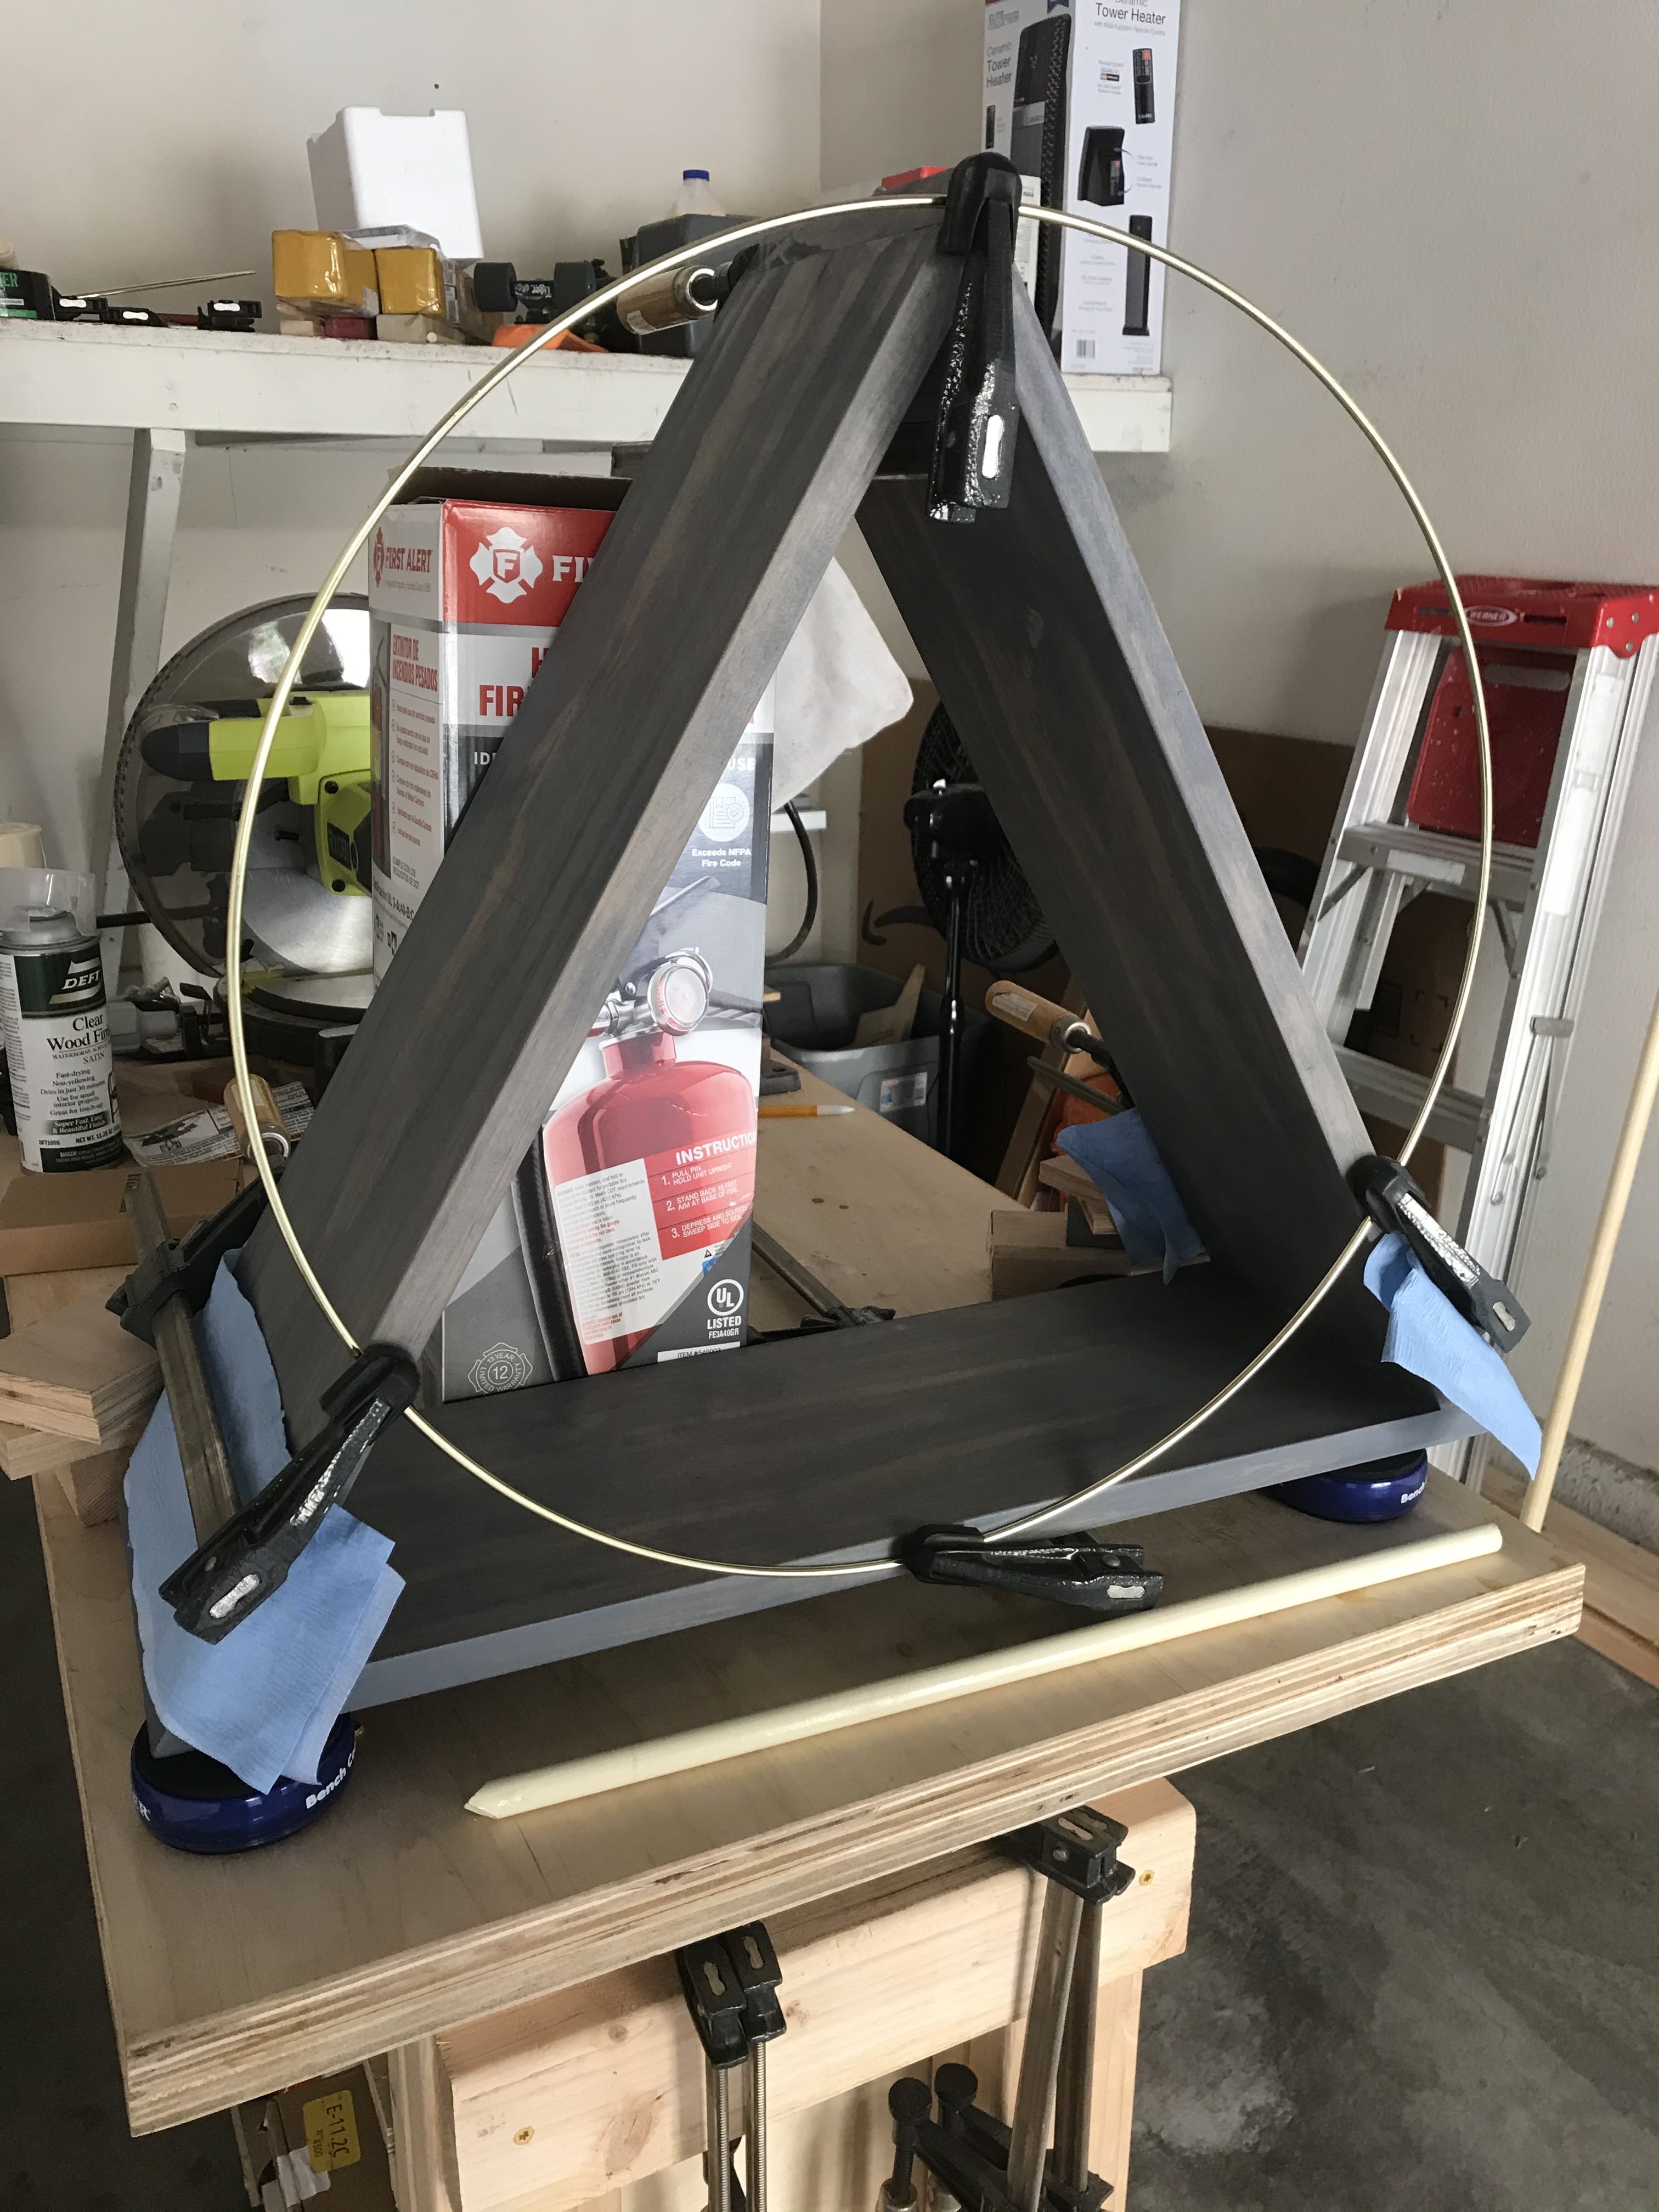
Had to use epoxy and a creative clamping scheme to mount the gold hoop onto the back of the shelf.
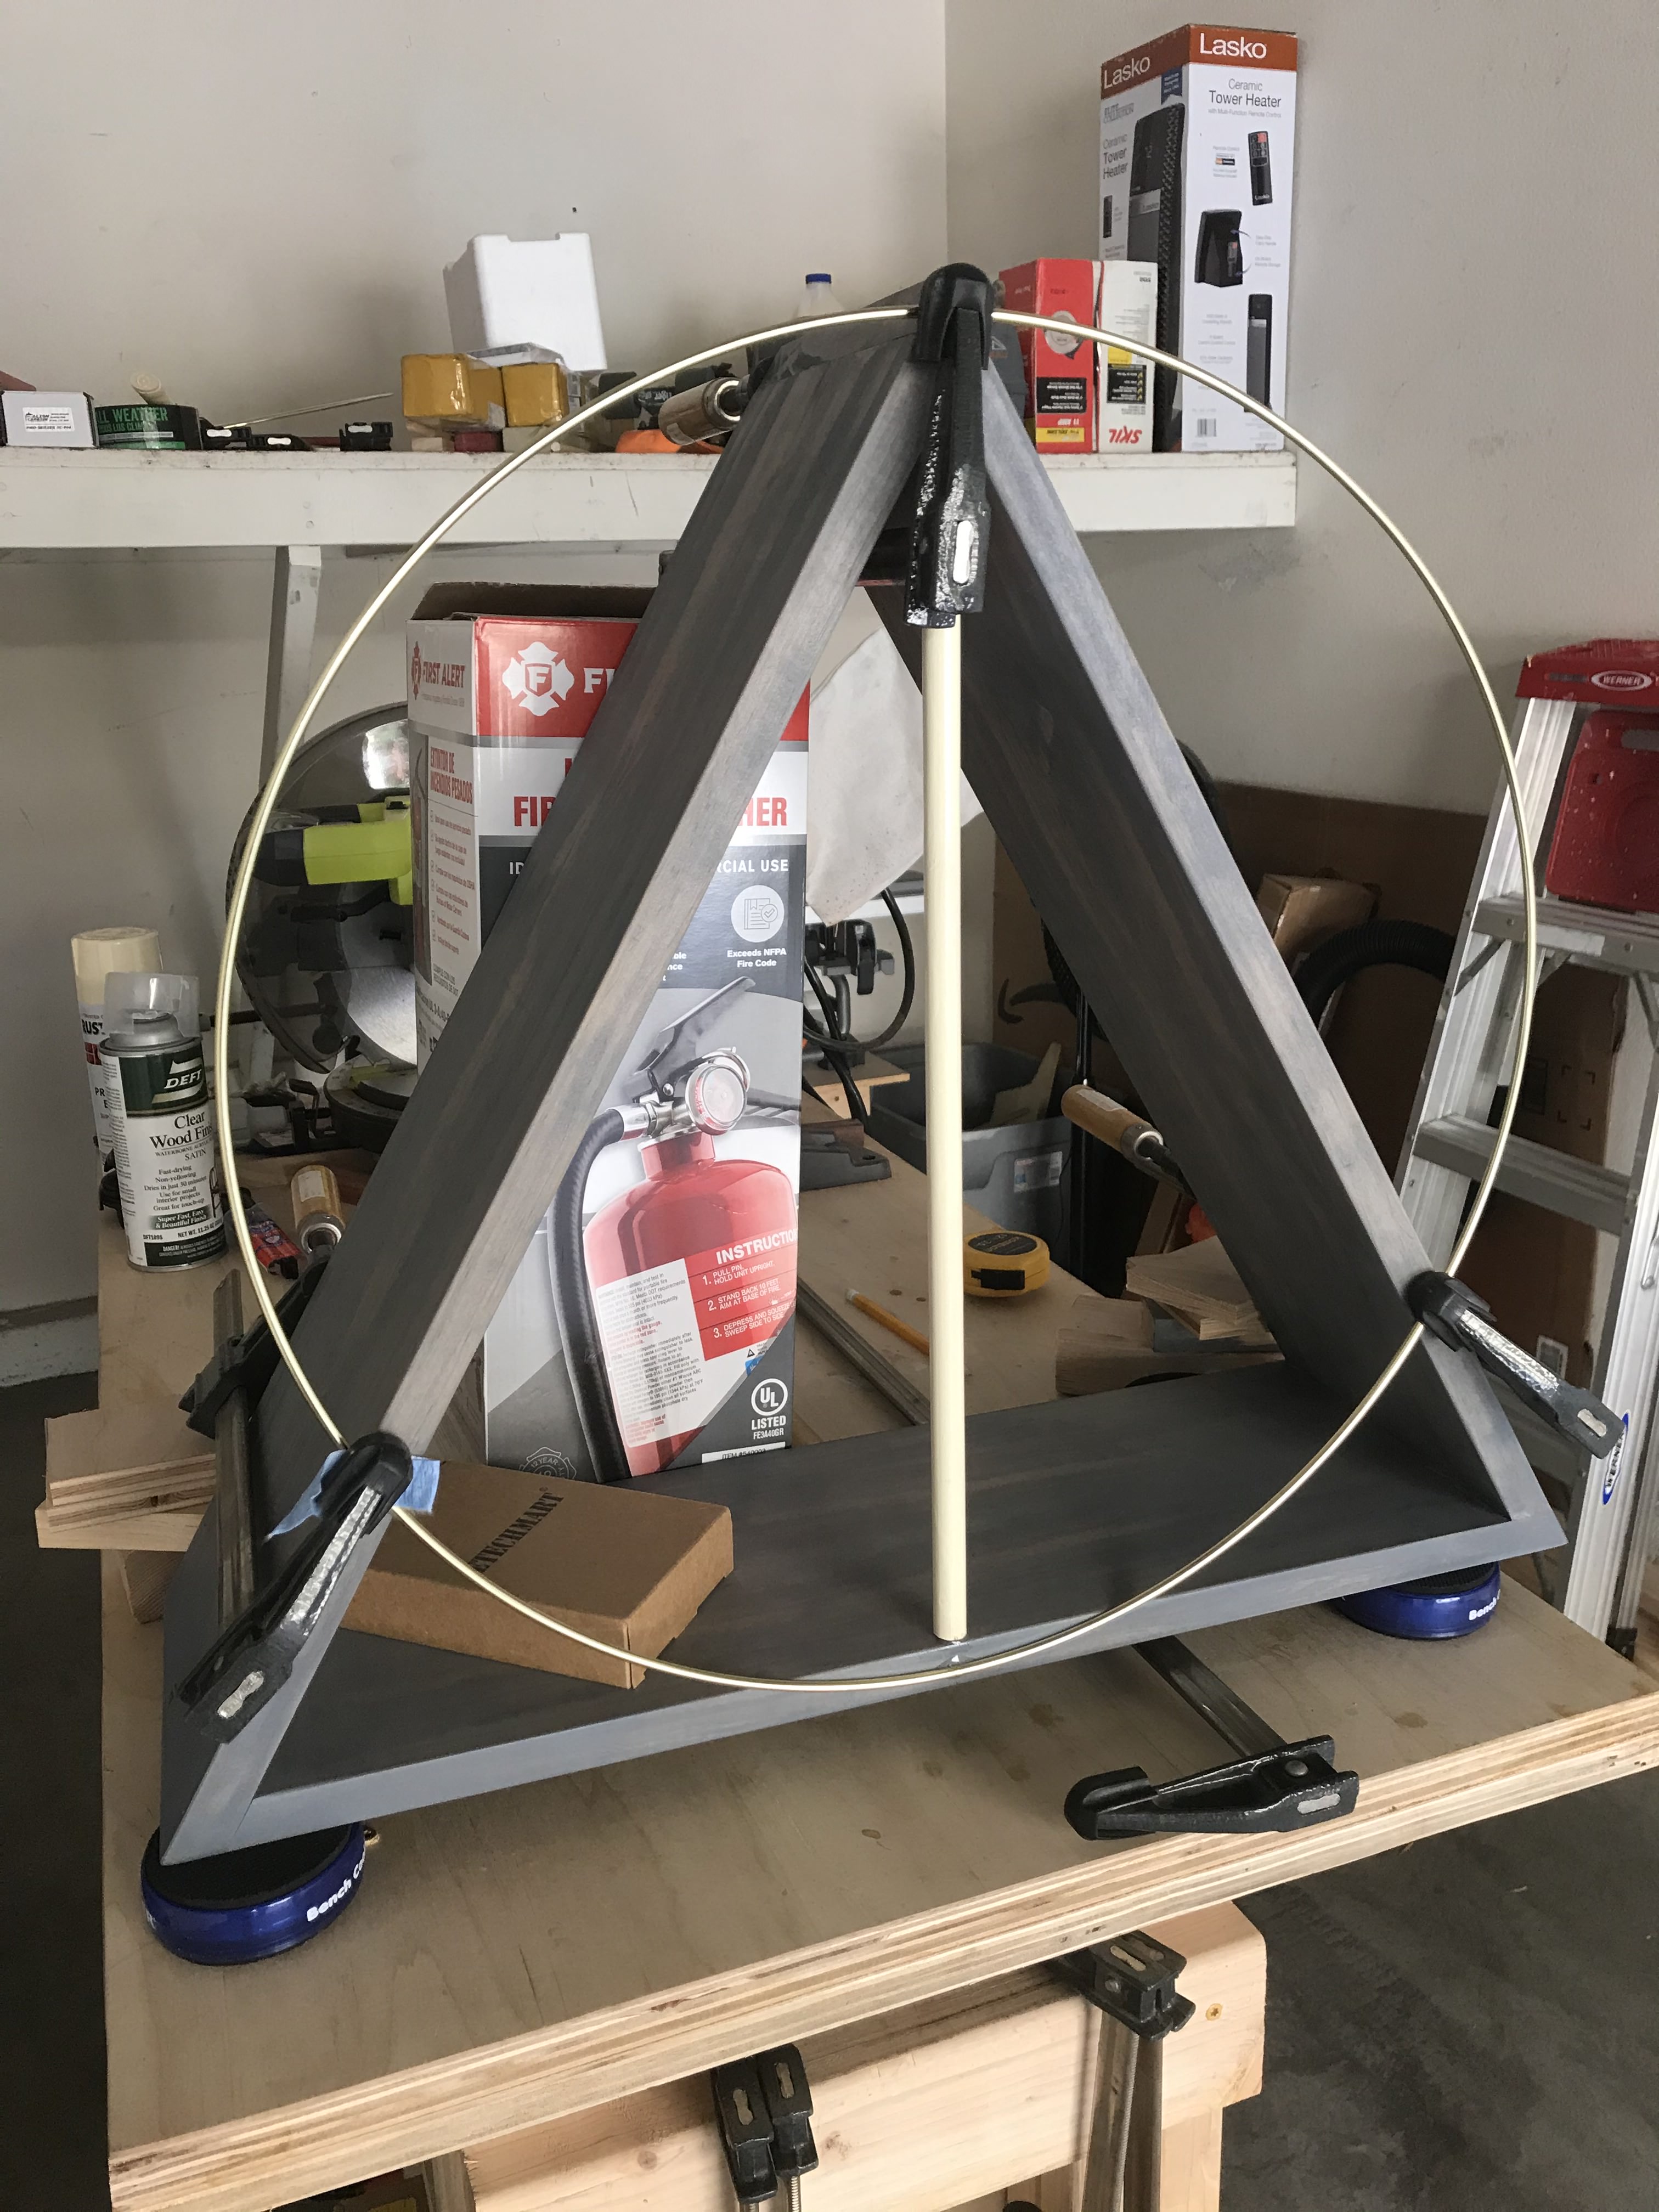
Painted a dowel white and epoxied it to the inside, near the back of the shelf, to leave room for the books.
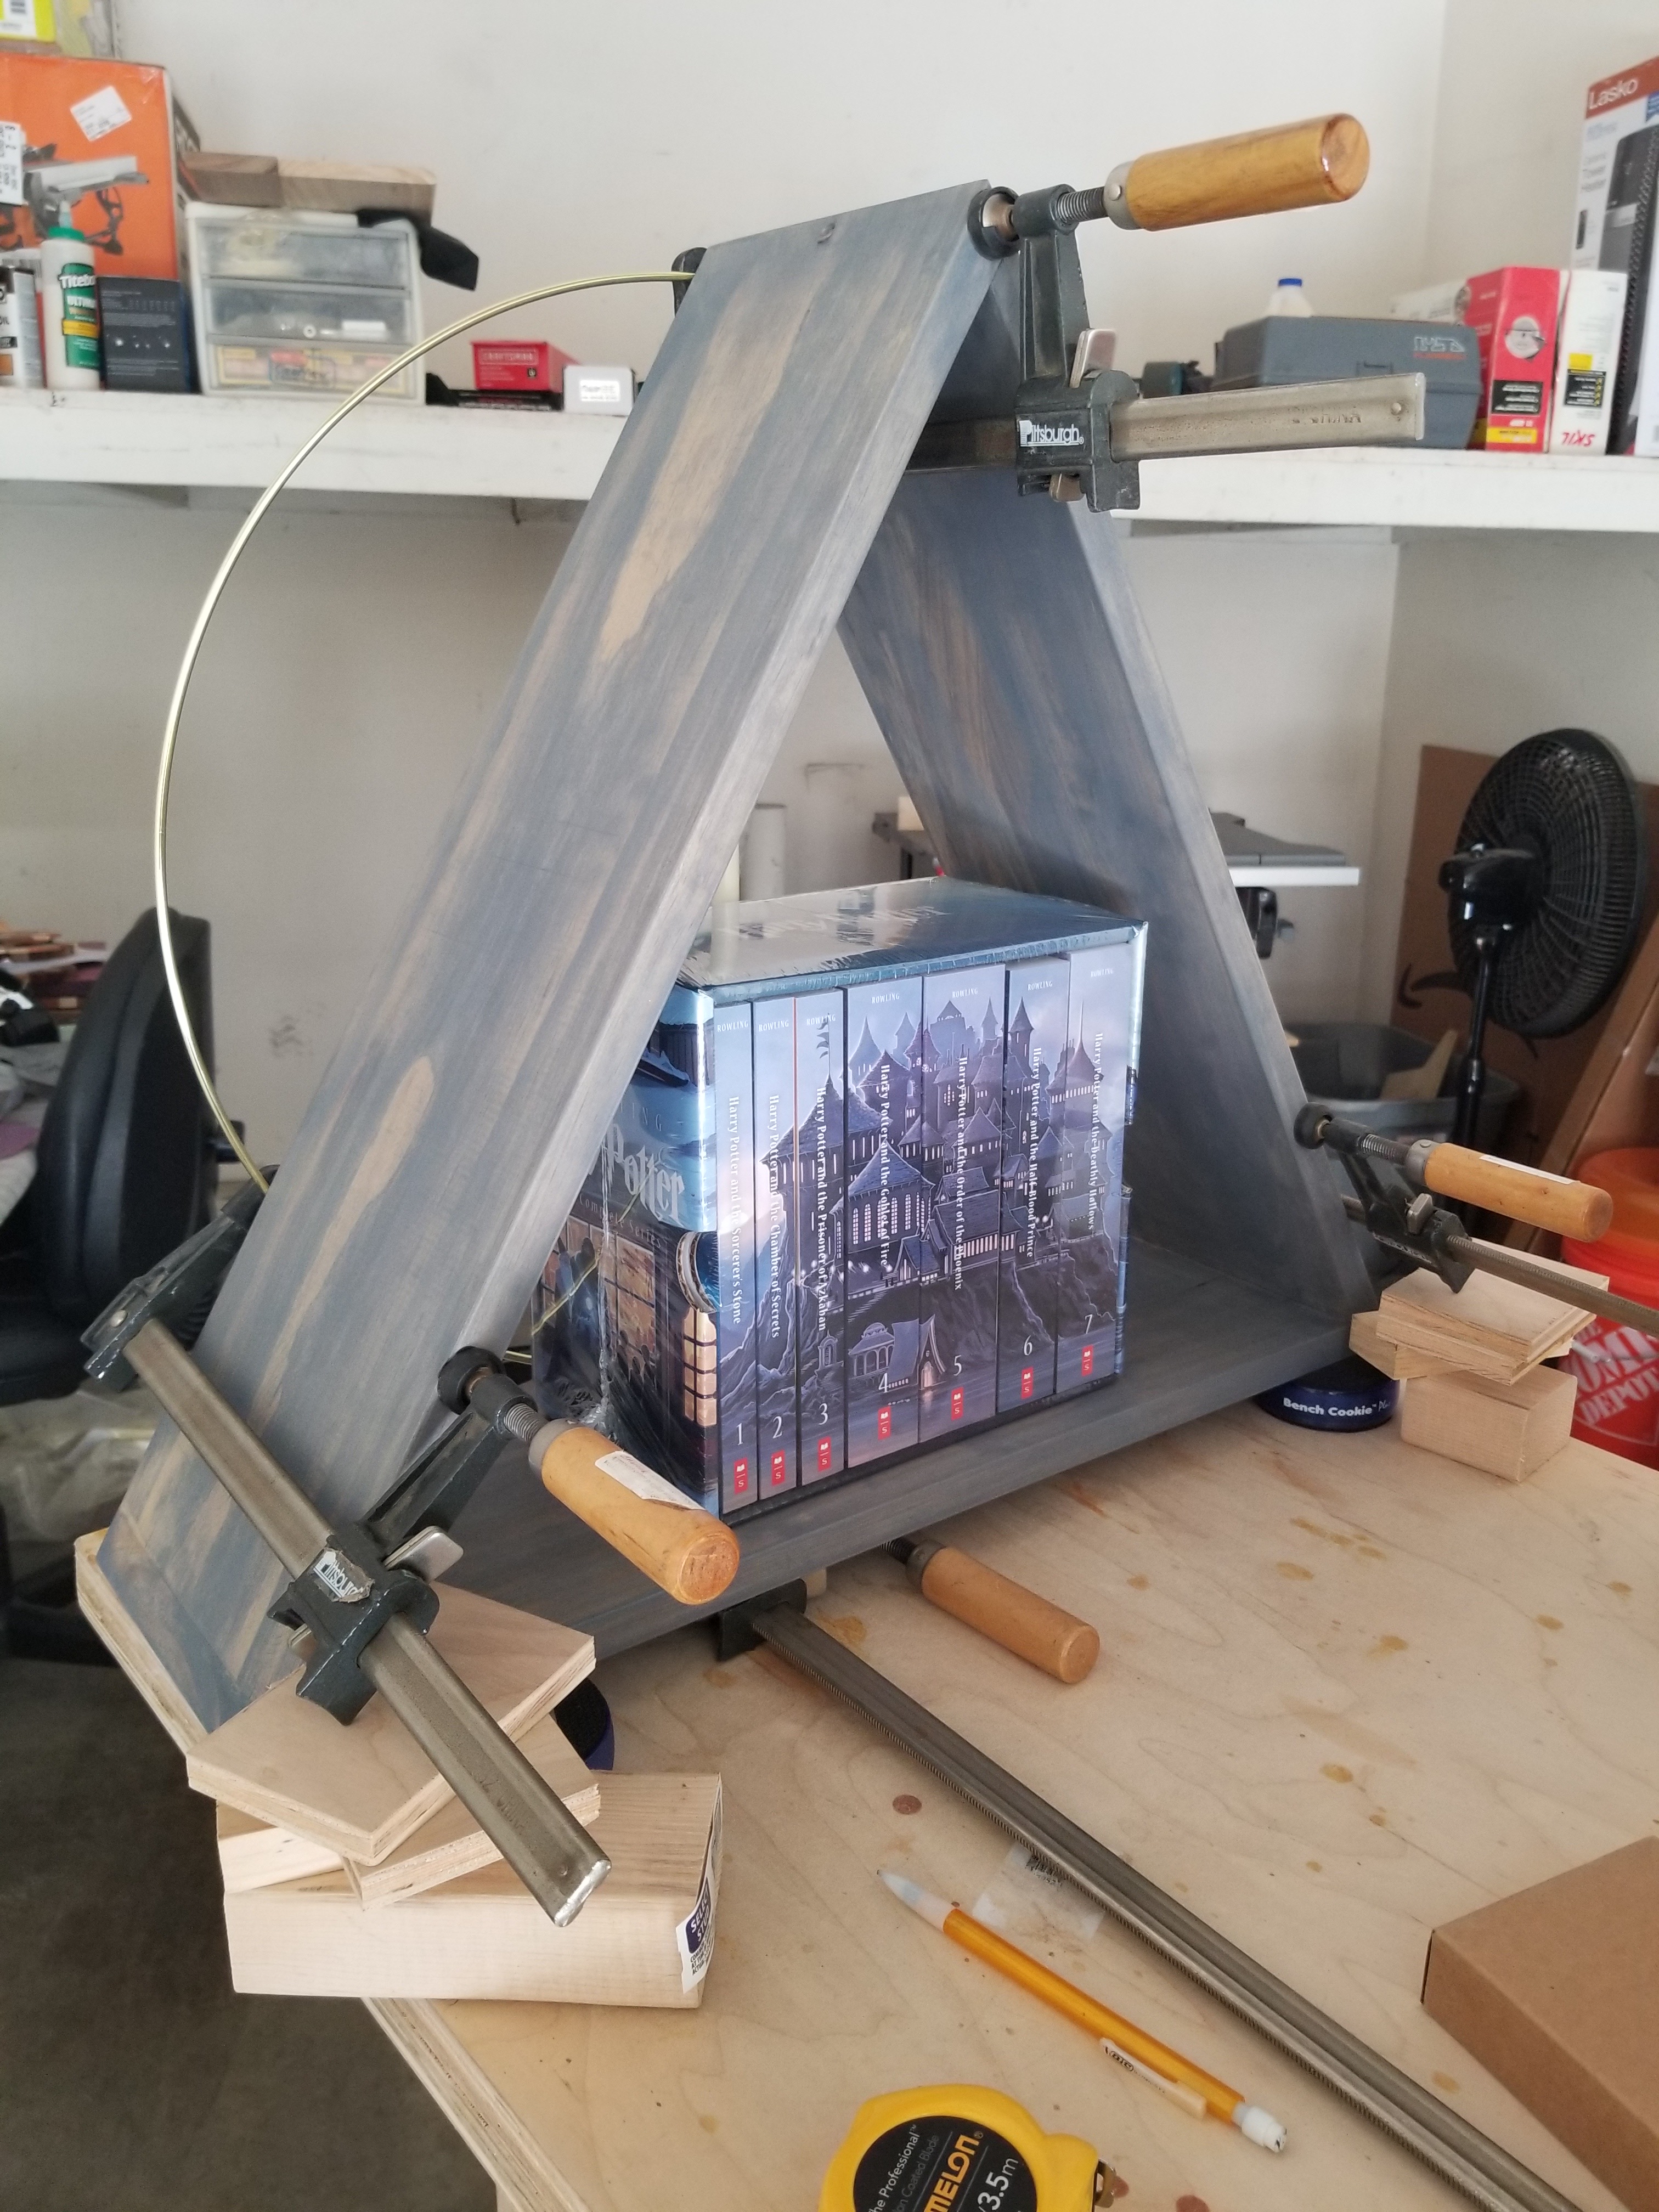
While it dried, I used the book set to do a fit test. It looked beautiful together!
The walnut lap desk was my first experience creating a product without a plan. Each feature was designed on the spot. I gave it a surface area that would hold a laptop and small notepad, designed the shape of it to be geometric and curve around the body, and added a phone stand and wrist bumper to keep items in place. The grain layout gave it character, while the oil finish brought out a classic dark look. It was a strong, sleek, beautiful build from start to finish.
See the slides below to learn more about the build.
Walnut Lap Desk: Project Walkthrough >>>
First I had to do a panel glue-up of 3 1/4″ walnut panels. Because it was rather thin, this tape method of panel gluing actually helped more than parallel clamps.
Once it dried, I removed the tape and cut the panel into the desk shape. Curves on the bottom and in the handle help with comfortable use, and the symmetry of the top curve was pleasing to the eye.
Sanded down until the glue seams were invisible, and edges were rounded.
Added bumpers and phone stand features using scrap wood. I laid the dark wood of the phone stand on the lighter part, and kept the light sides of the bumpers on the dark bottom of the panel. This could have been smoothly blended in with the color gradient, but I liked the contrast. The magazine page is a template of the laptop dimensions.
Finished with 3 coats of Danish oil. This was my first use of Danish oil and it really came out perfect.
Glued the bumpers and phone stand down.
Sewed a cover for a memory foam pillow, and velcroed the whole thing onto the bottom for a lap cushion.
The floating plant shelves were a fun project I made to gift to a friend who loves plants. This one was an original design using scraps in my shop. I love the way this project turned out! They’re geometric, chaotic, and colorful.
See the walk-through below to learn about the process.
Floating Plant Shelves: Project Walkthrough >>>
First I drew and cut a hexagon and an octagon out of 3/4″ poplar.
I segmented some scrap dowels to make accents for corners. I used a walnut round dowel and a red square dowel.
Then I glued and drilled through each dowel segment. Lastly, I sanded it and finished with a spray-on lacquer.
The harmony garden bench was the first project in Steve Ramsey’s Weekend Woodworker course. This project demanded careful construction. I had to choose how to lay the wood slats for the final design to get a nice grain pattern on the final piece. I had to think ahead to make sure all the screws would be hidden in the final product. And I learned about polyurethane finishes and plastic wood – materials I had not worked with before. Overall, it was a great introductory project for a first-time builder.
See the walk-through below to learn more about the build.
Harmony Garden Bench: Project Walkthrough >>>
First, I made the legs out of 3 layers of 1″ by 3″s. The middle layer was shorter to leave a slot for the stretchers. The screws only show on one side of the legs.
Next I attached the stretchers to the legs. Here are the 2 halves before the other slats were added on.
The next step was to add the rest of the slats. Here I’ve added the first layer.
The pattern for this build was a horizontal slat and stretcher, followed by a vertical spacer, and repeat.
Next I glued the two halves together.
I attached the final slats on the outside. Notice how the leg screws are facing inwards, and no others are visible.
Up close, it is easy to tell how uneven it was. I had a lot of sanding in front of me…
Smooth and beautiful.
I covered the leg screw heads with plastic wood. I used an oil-based polyurethane, since this needed to be water-resistant in a garden. I didn’t love the process of brushing on the finish. It took too long to apply and dry, and it was really messy. Still, I was pleased with the final look.